
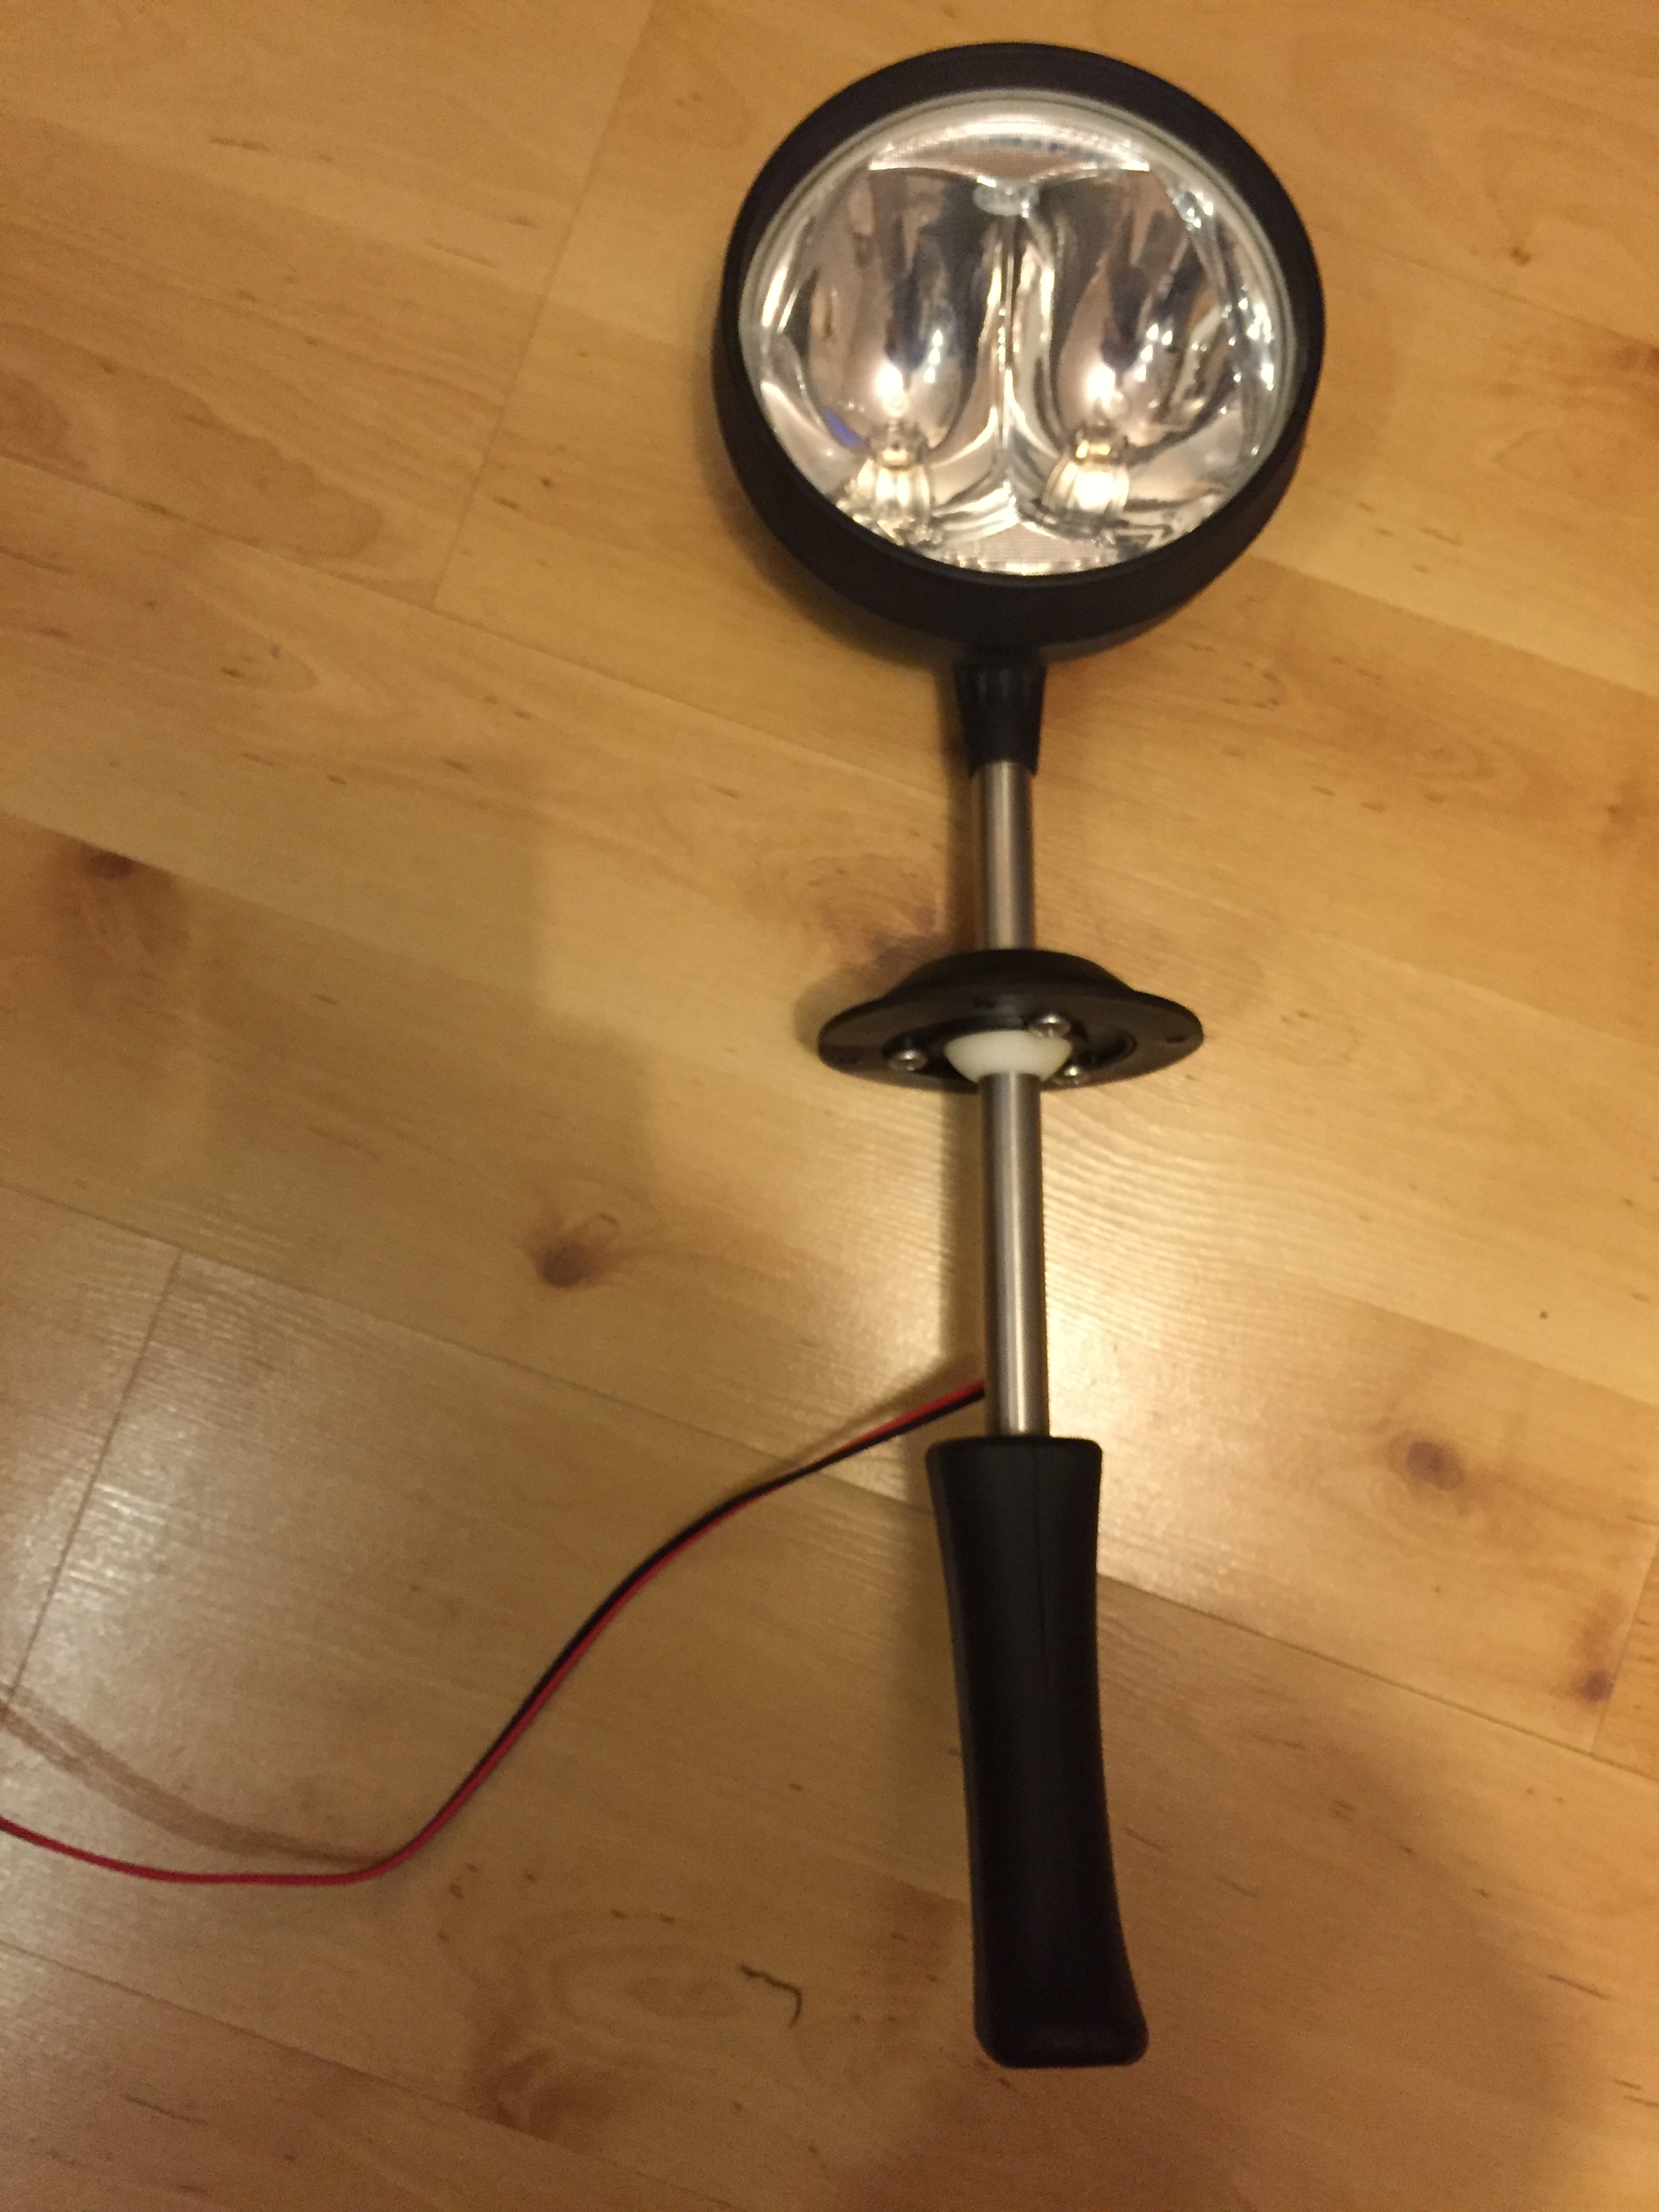
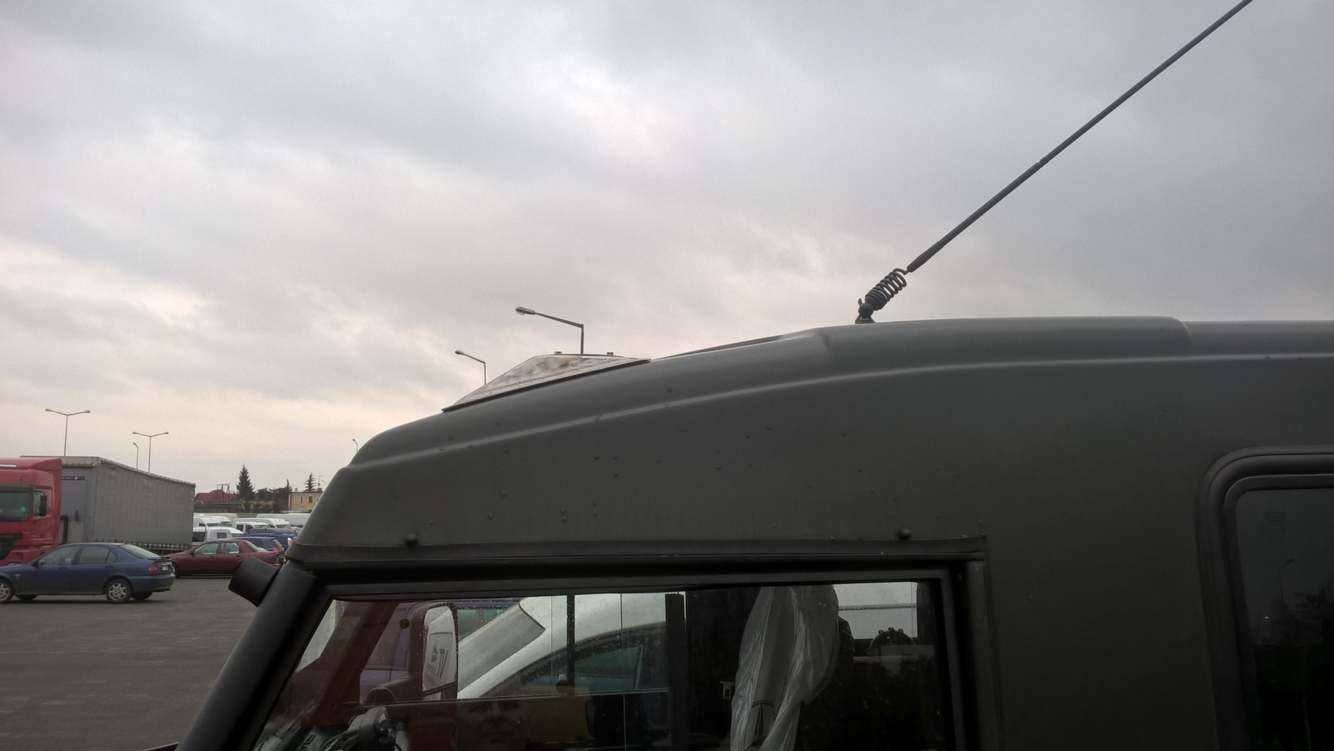
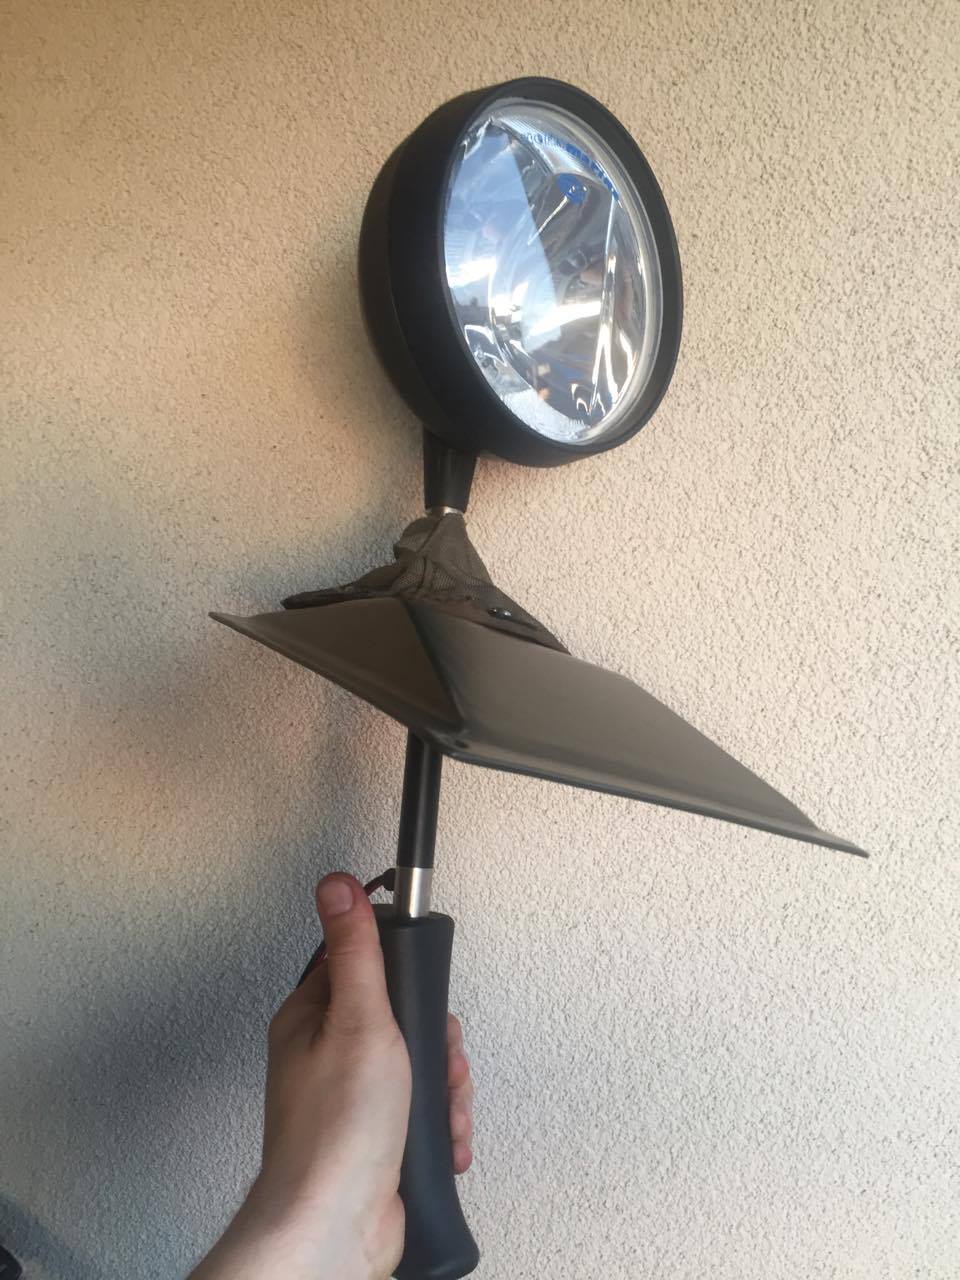
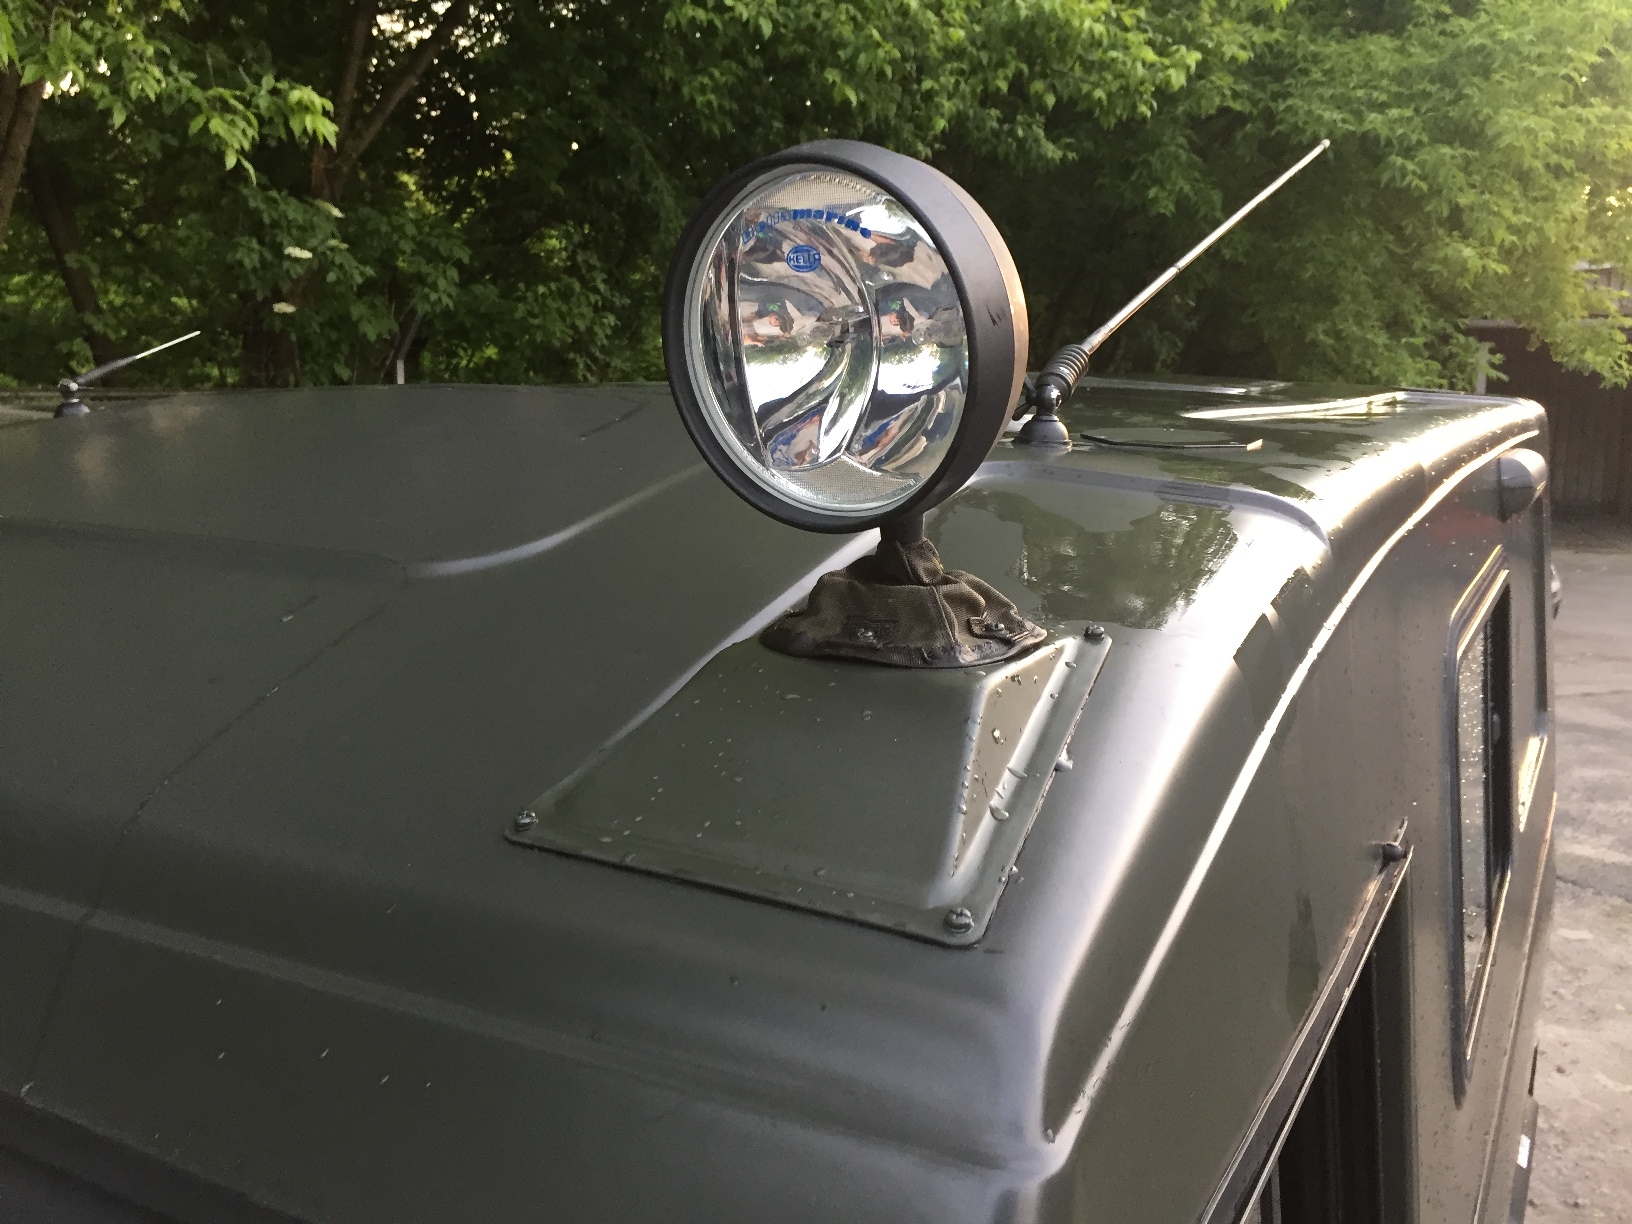
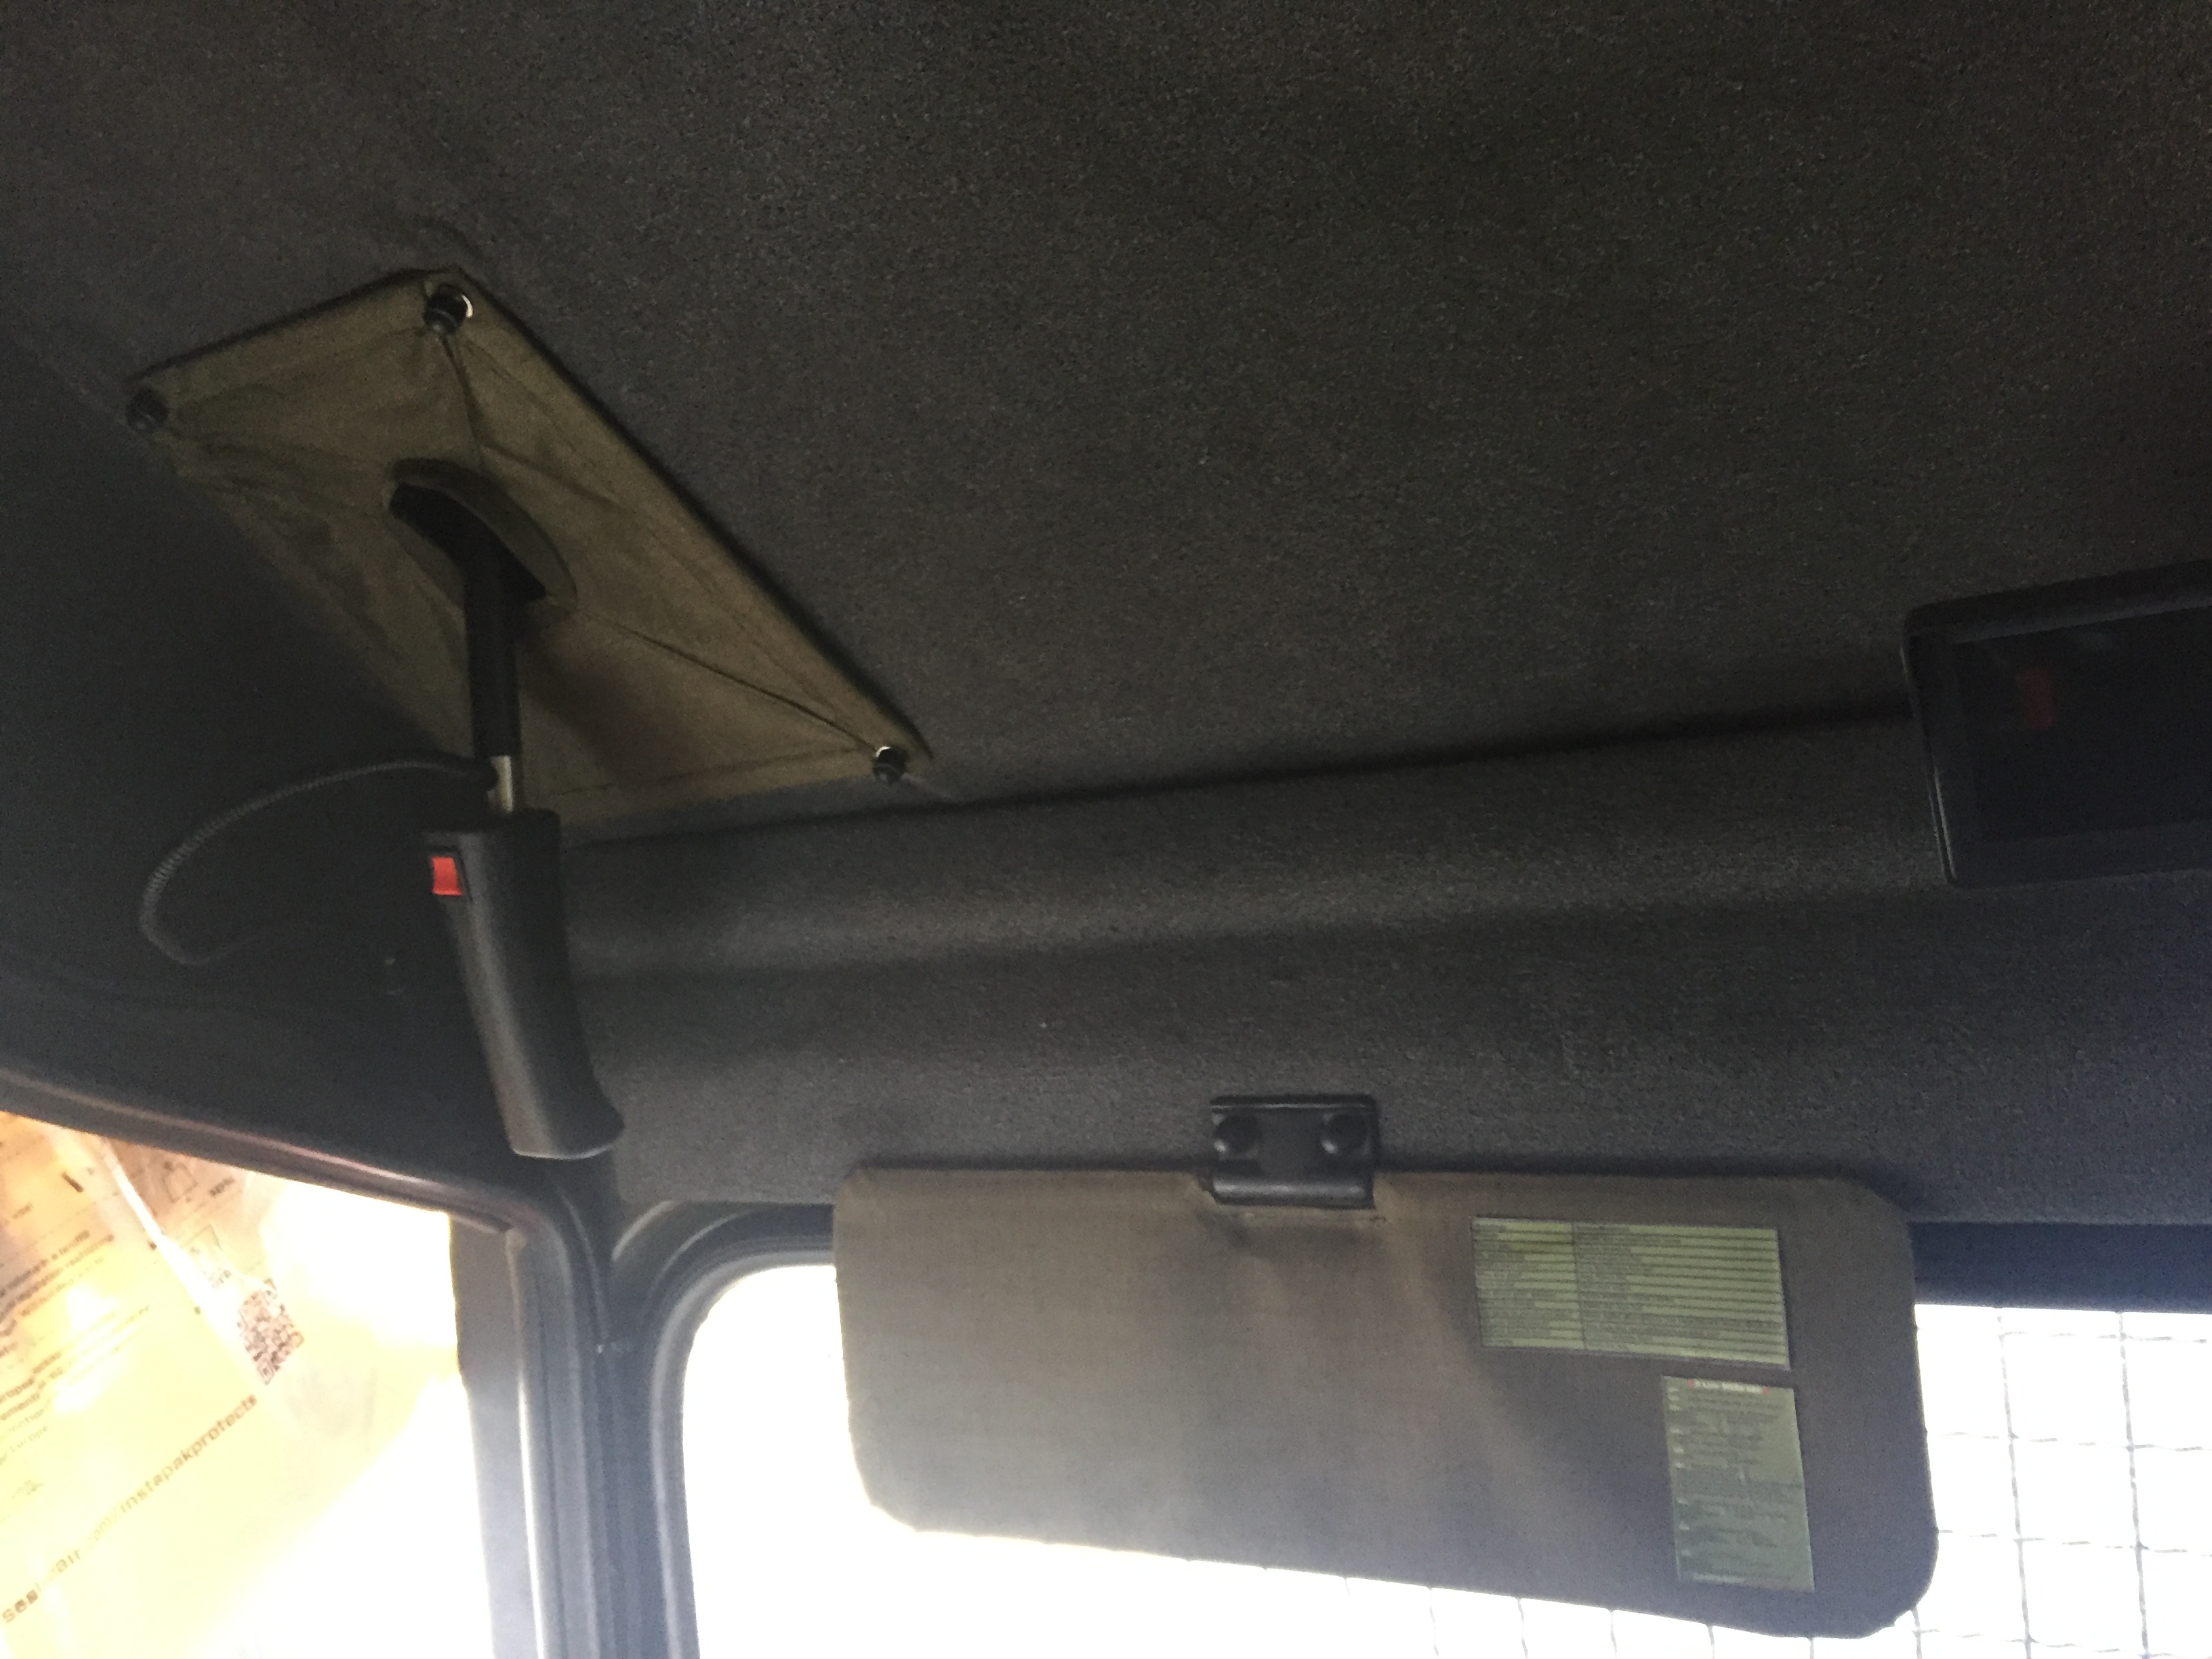
Hella Marine searchlights were factory mounted on the roofs of Scorpion-3 and patrol versions of honkers. This is a manually operated lamp from the cab, equipped with two 55W h3 bulbs (optionally, the manufacturer allows the installation of 100W bulbs, but in my opinion there is no need for this).
Since the first time I had the opportunity to use such a lamp at night I completely "fell sick" of it and it went on my honker list of "gadgets to install".
After buying the lamp (unfortunately, it is not cheap, but if one is patient, used ones sometimes appear at really good prices), it was time for installation.
The first problem arose: on which side to mount the lamp....
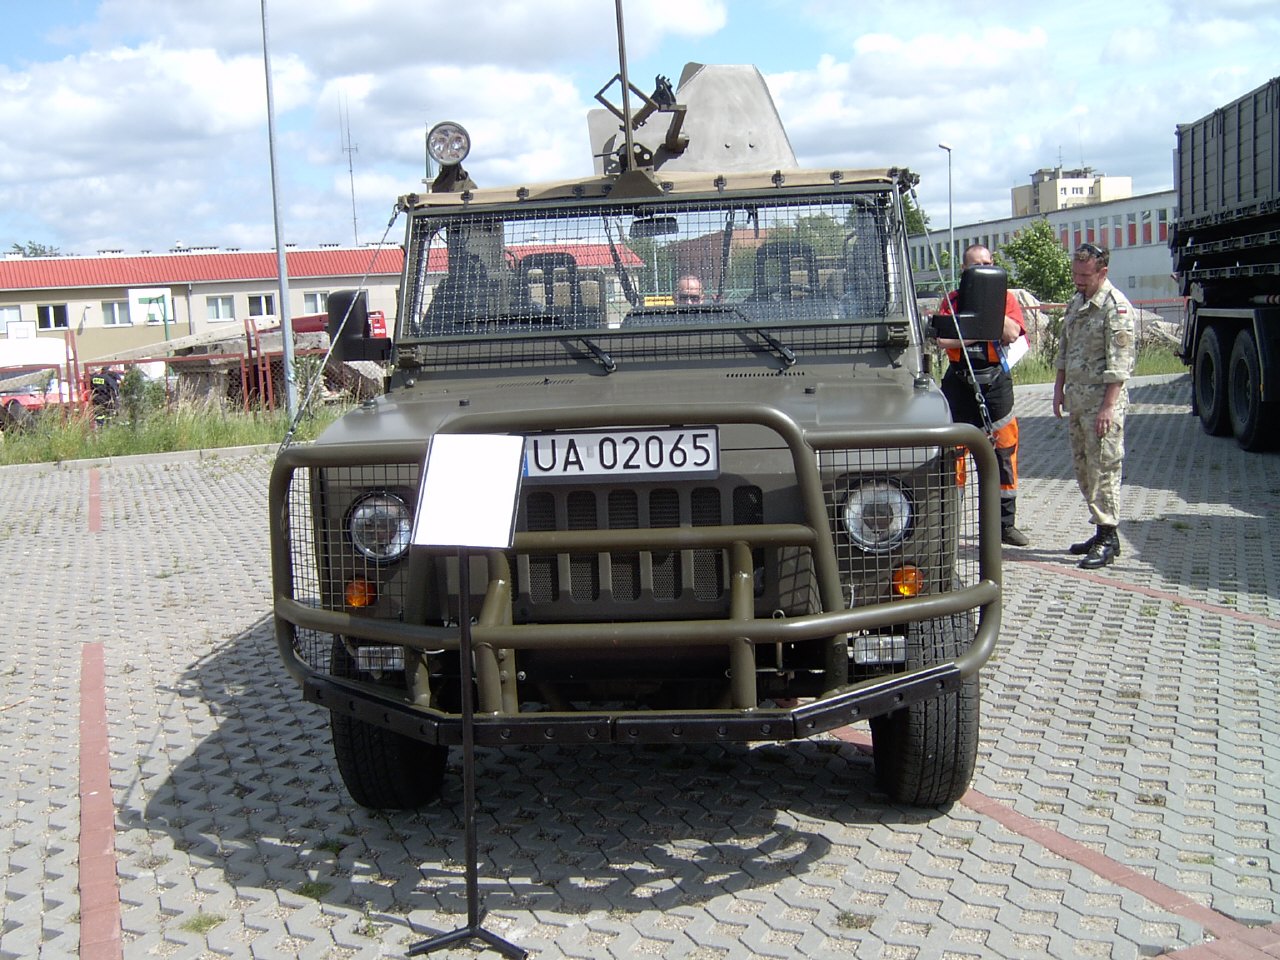
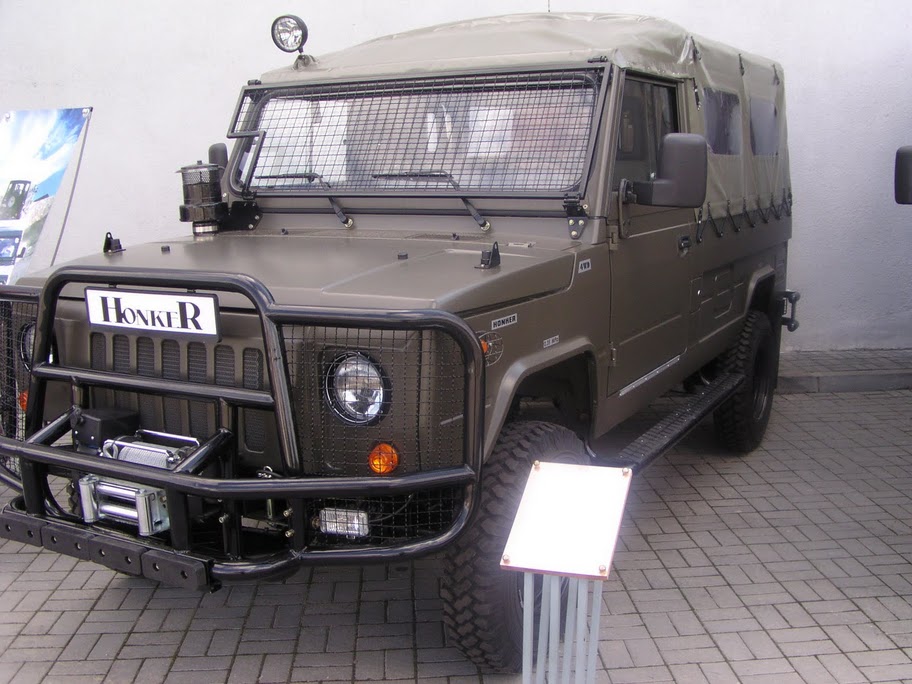
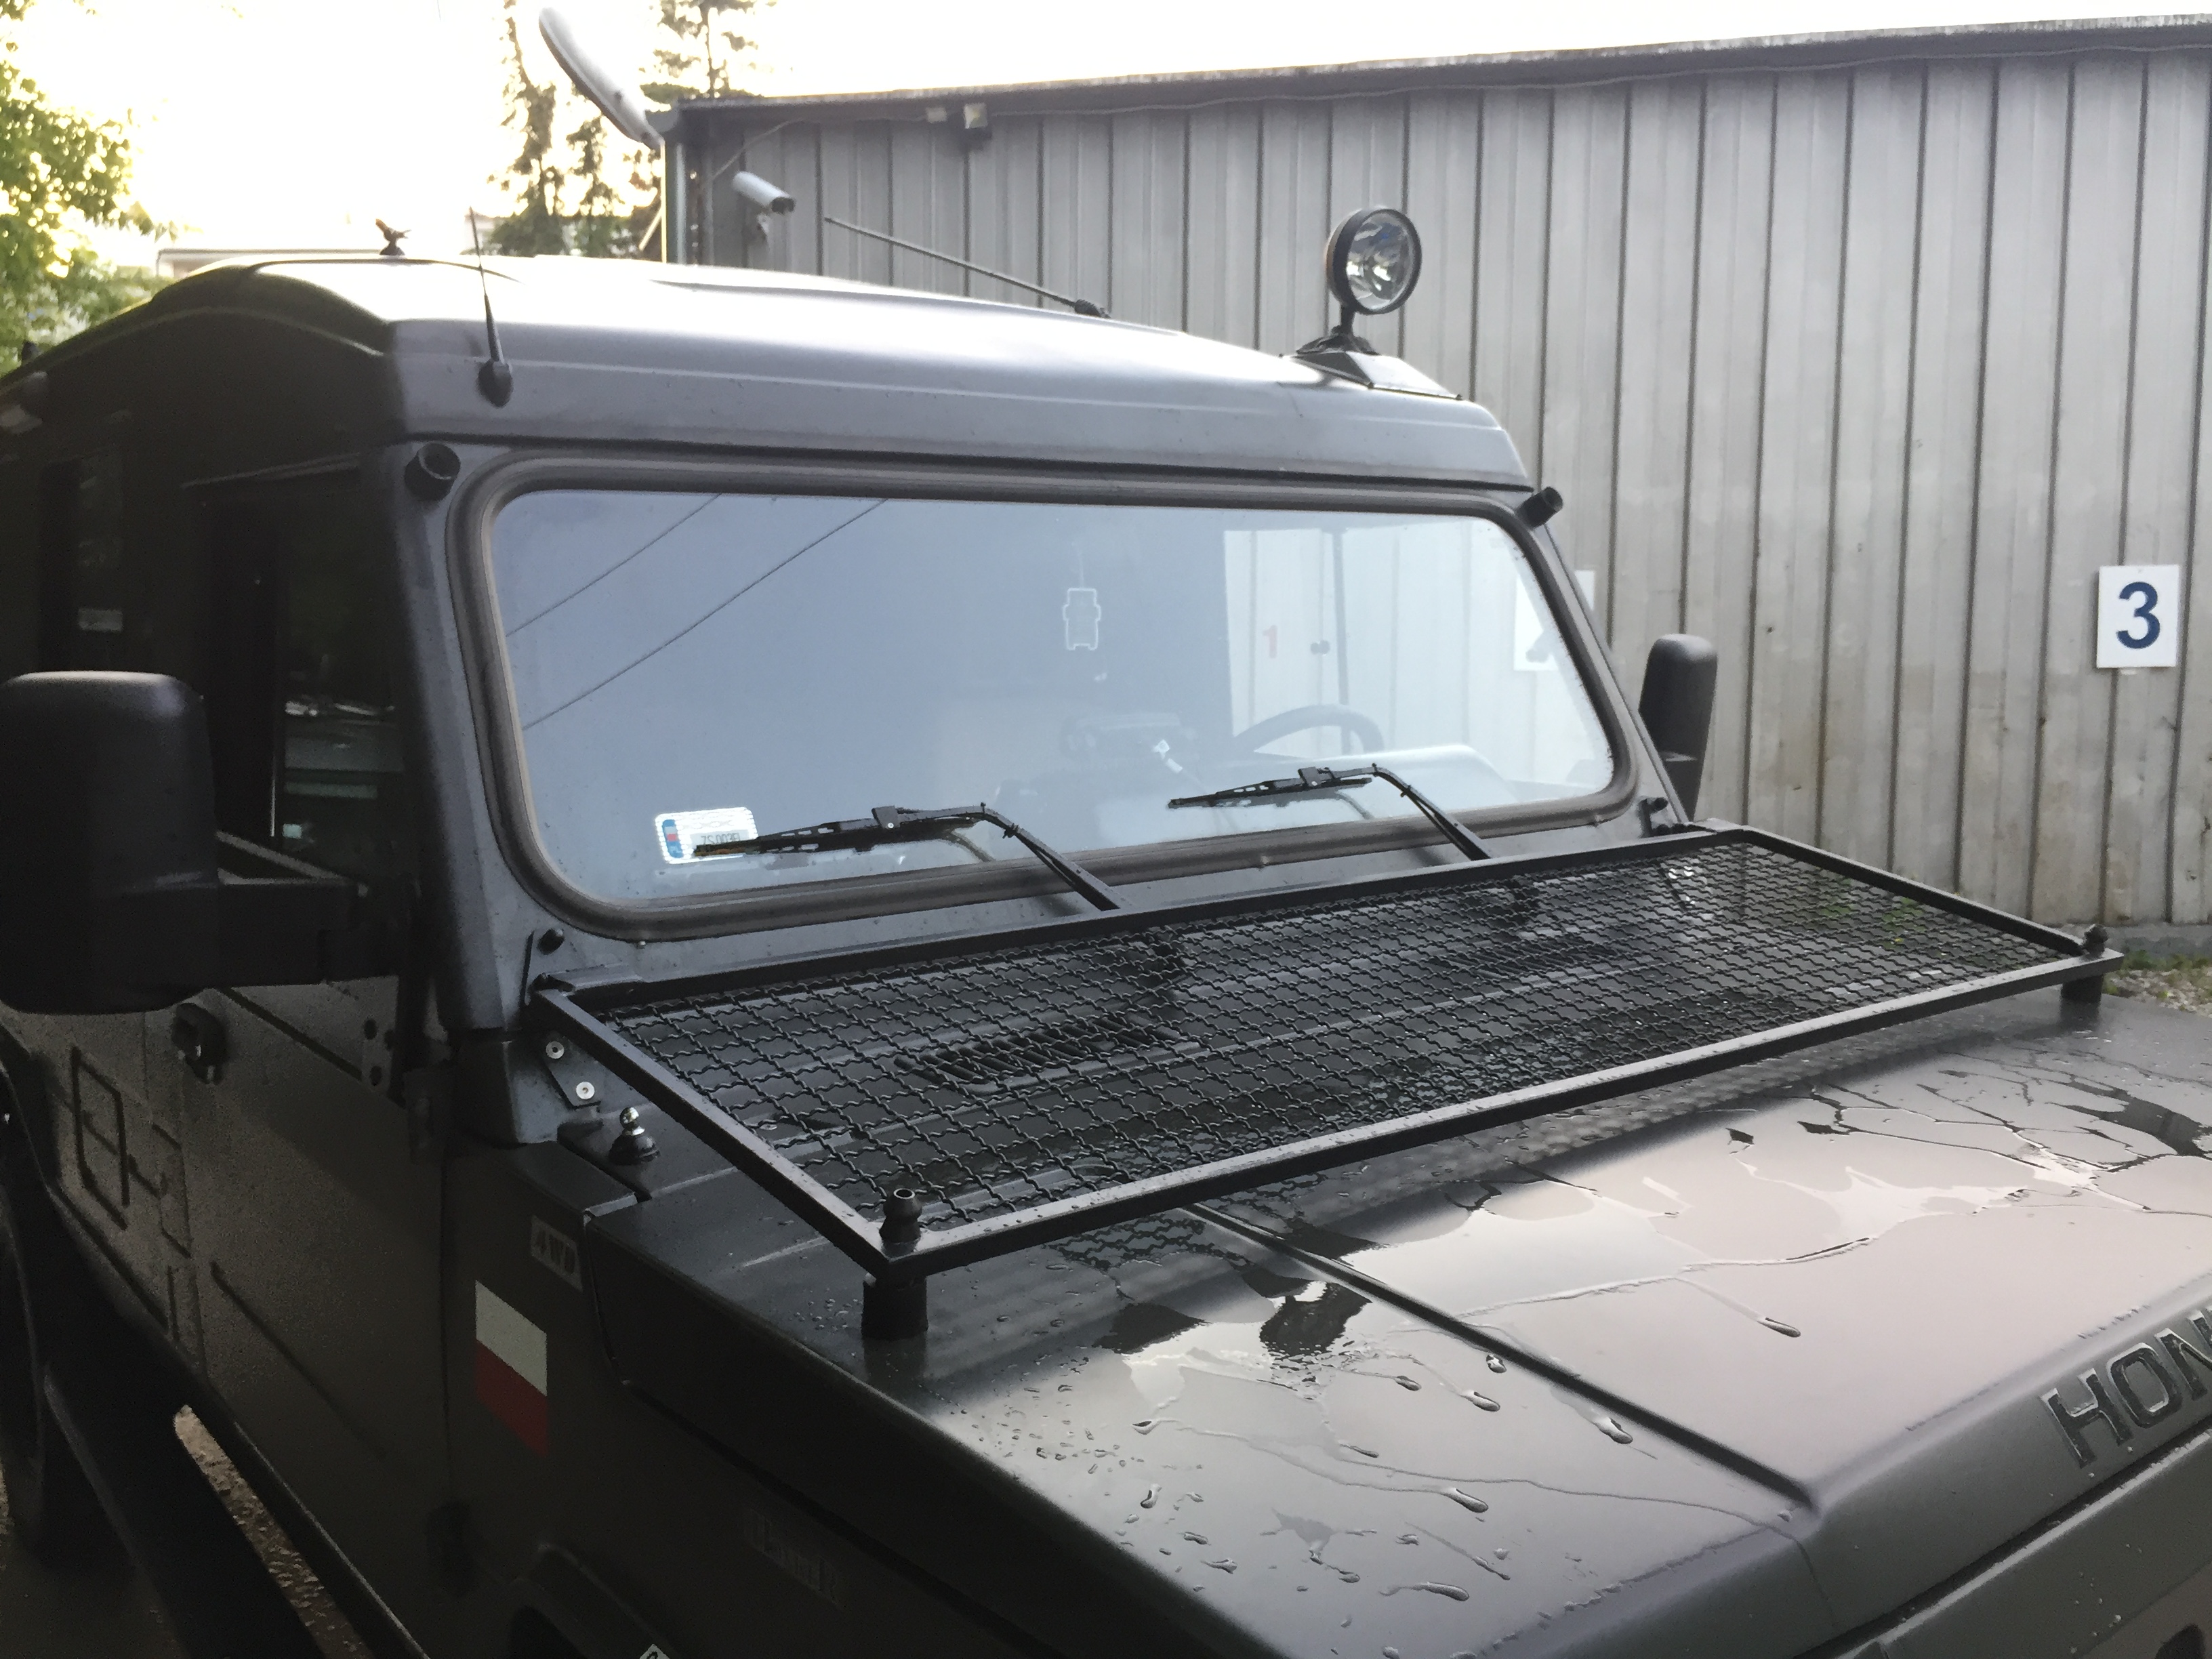
As you can see from the above photos, in military cars this lamp is mounted on the right side to be operated by a passenger(vehicle commander/dispatcher). However, in the case of a hobby car, where you mostly drive alone, such a solution is impractical, to put it mildly. Therefore, I finally decided to change the side to the left, especially since my vehicle is not a 1:1 reproduction of any of the military versions.
The second problem I encountered was the mounting surface of the lamp.
In military cars, the lamp is mounted in soft-roof versions on a special horizontal bracket screwed to the windshield frame. In the case of my car in the version with a hardtop(rigid roof), there is a significant slope at the mounting point. If the lamp was mounted at such an angle, it would significantly reduce the range of lamp adjustment (it would be impossible to shine the lamp upwards). Therefore, it was necessary to make a special bracket to level the surface in the place of mounting the lamp.
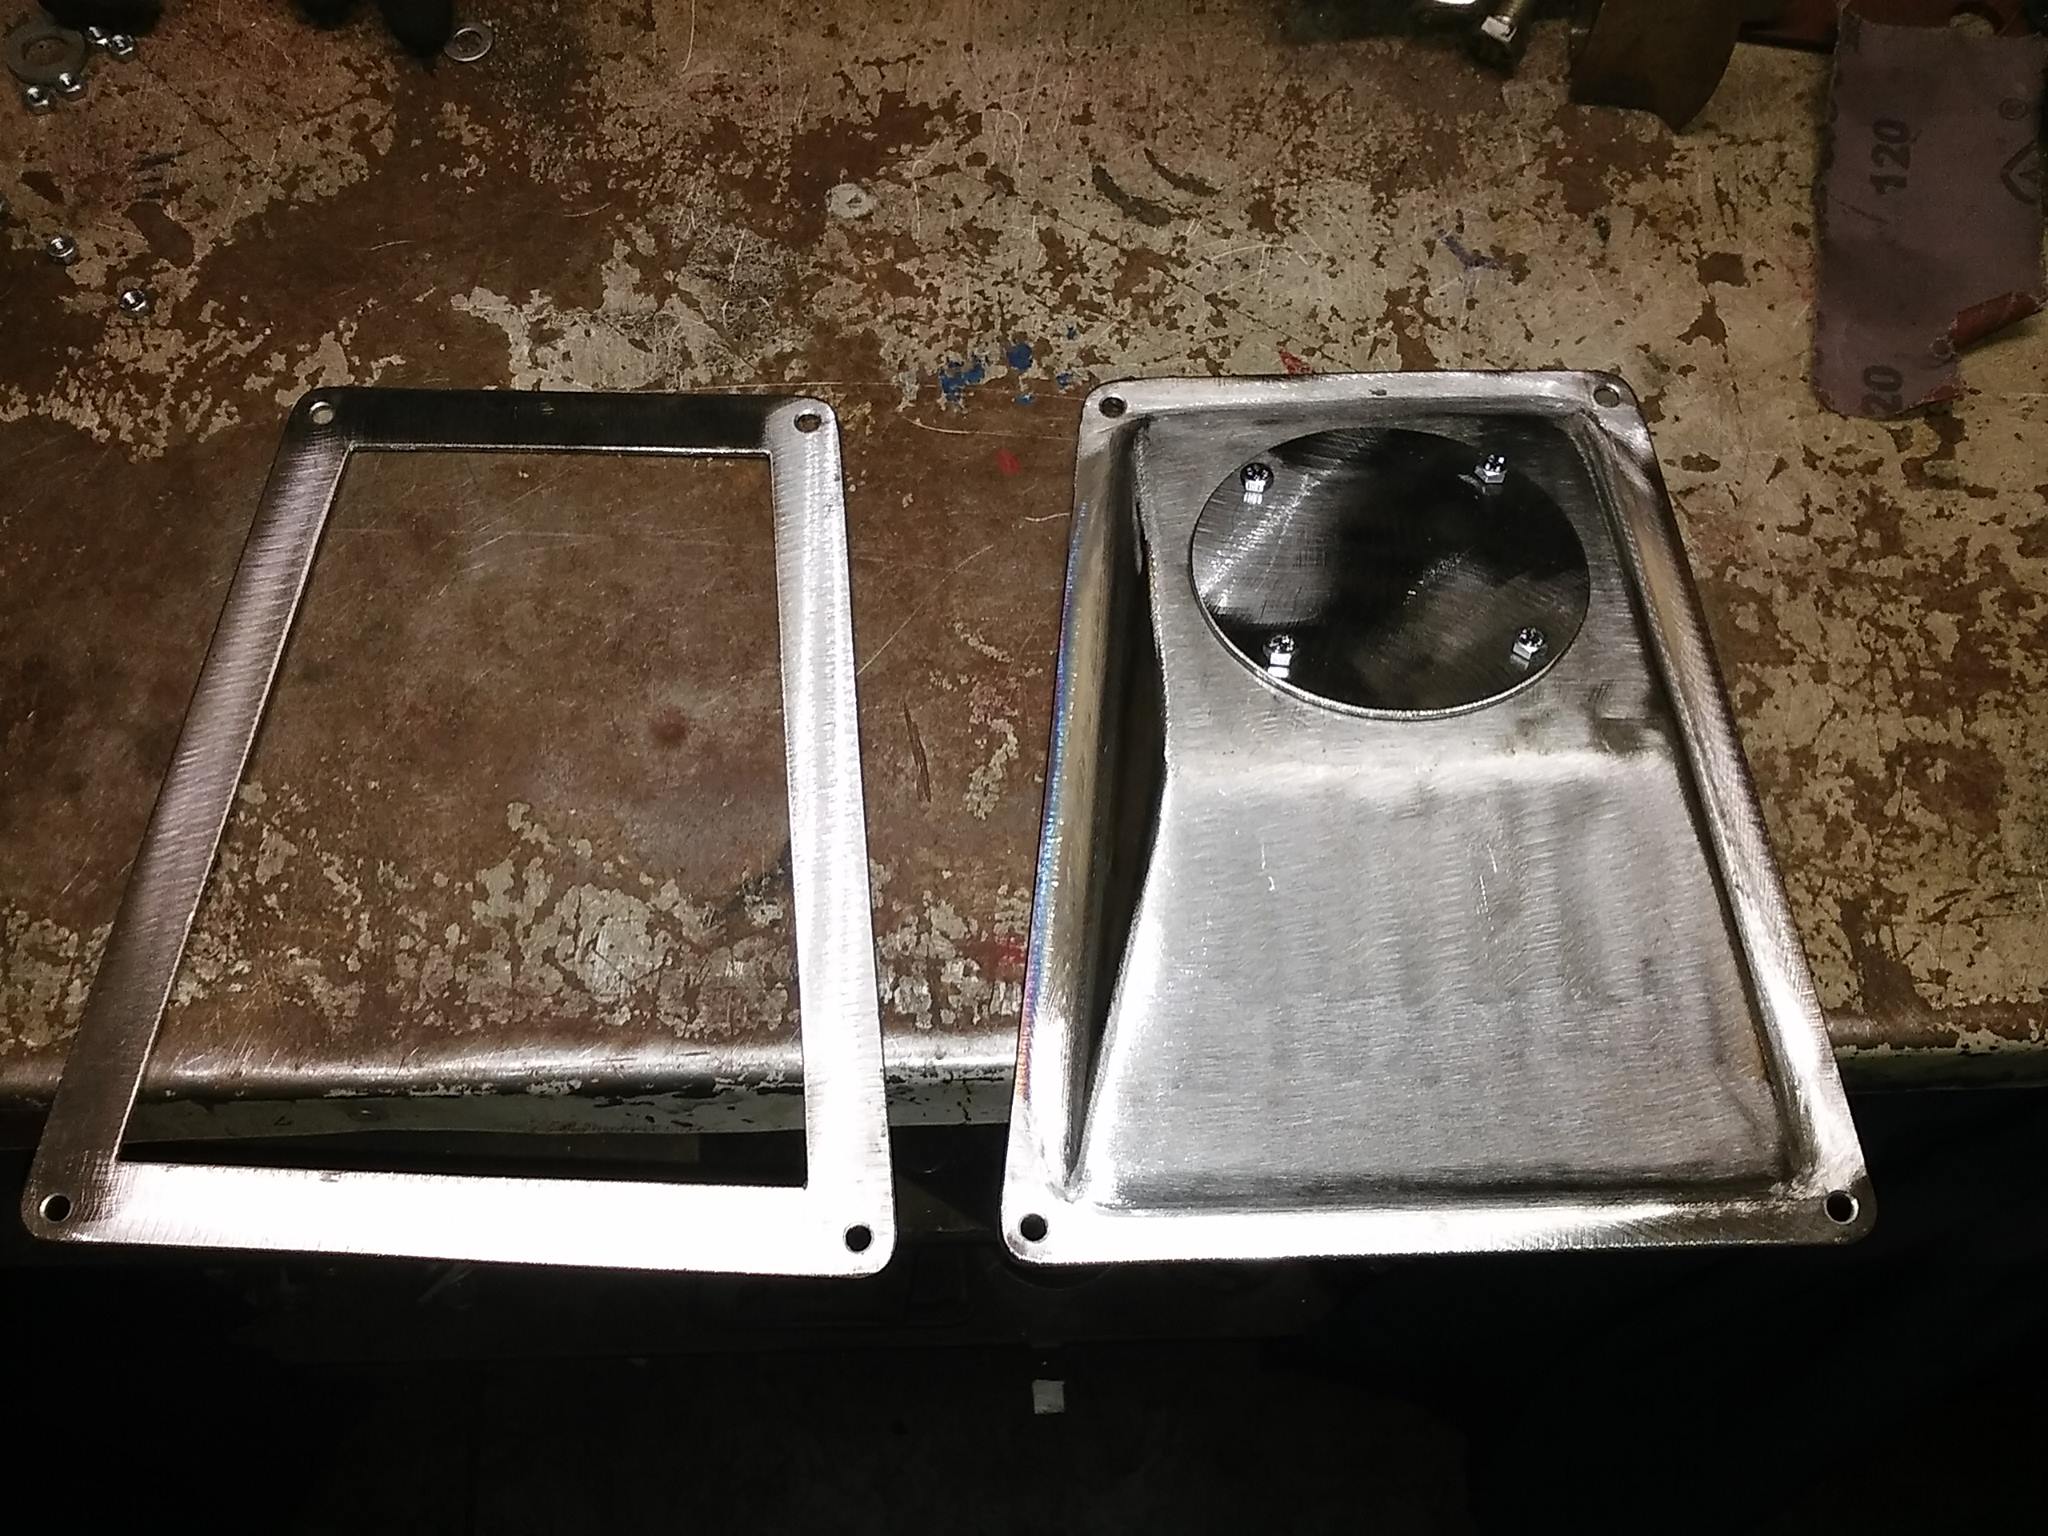
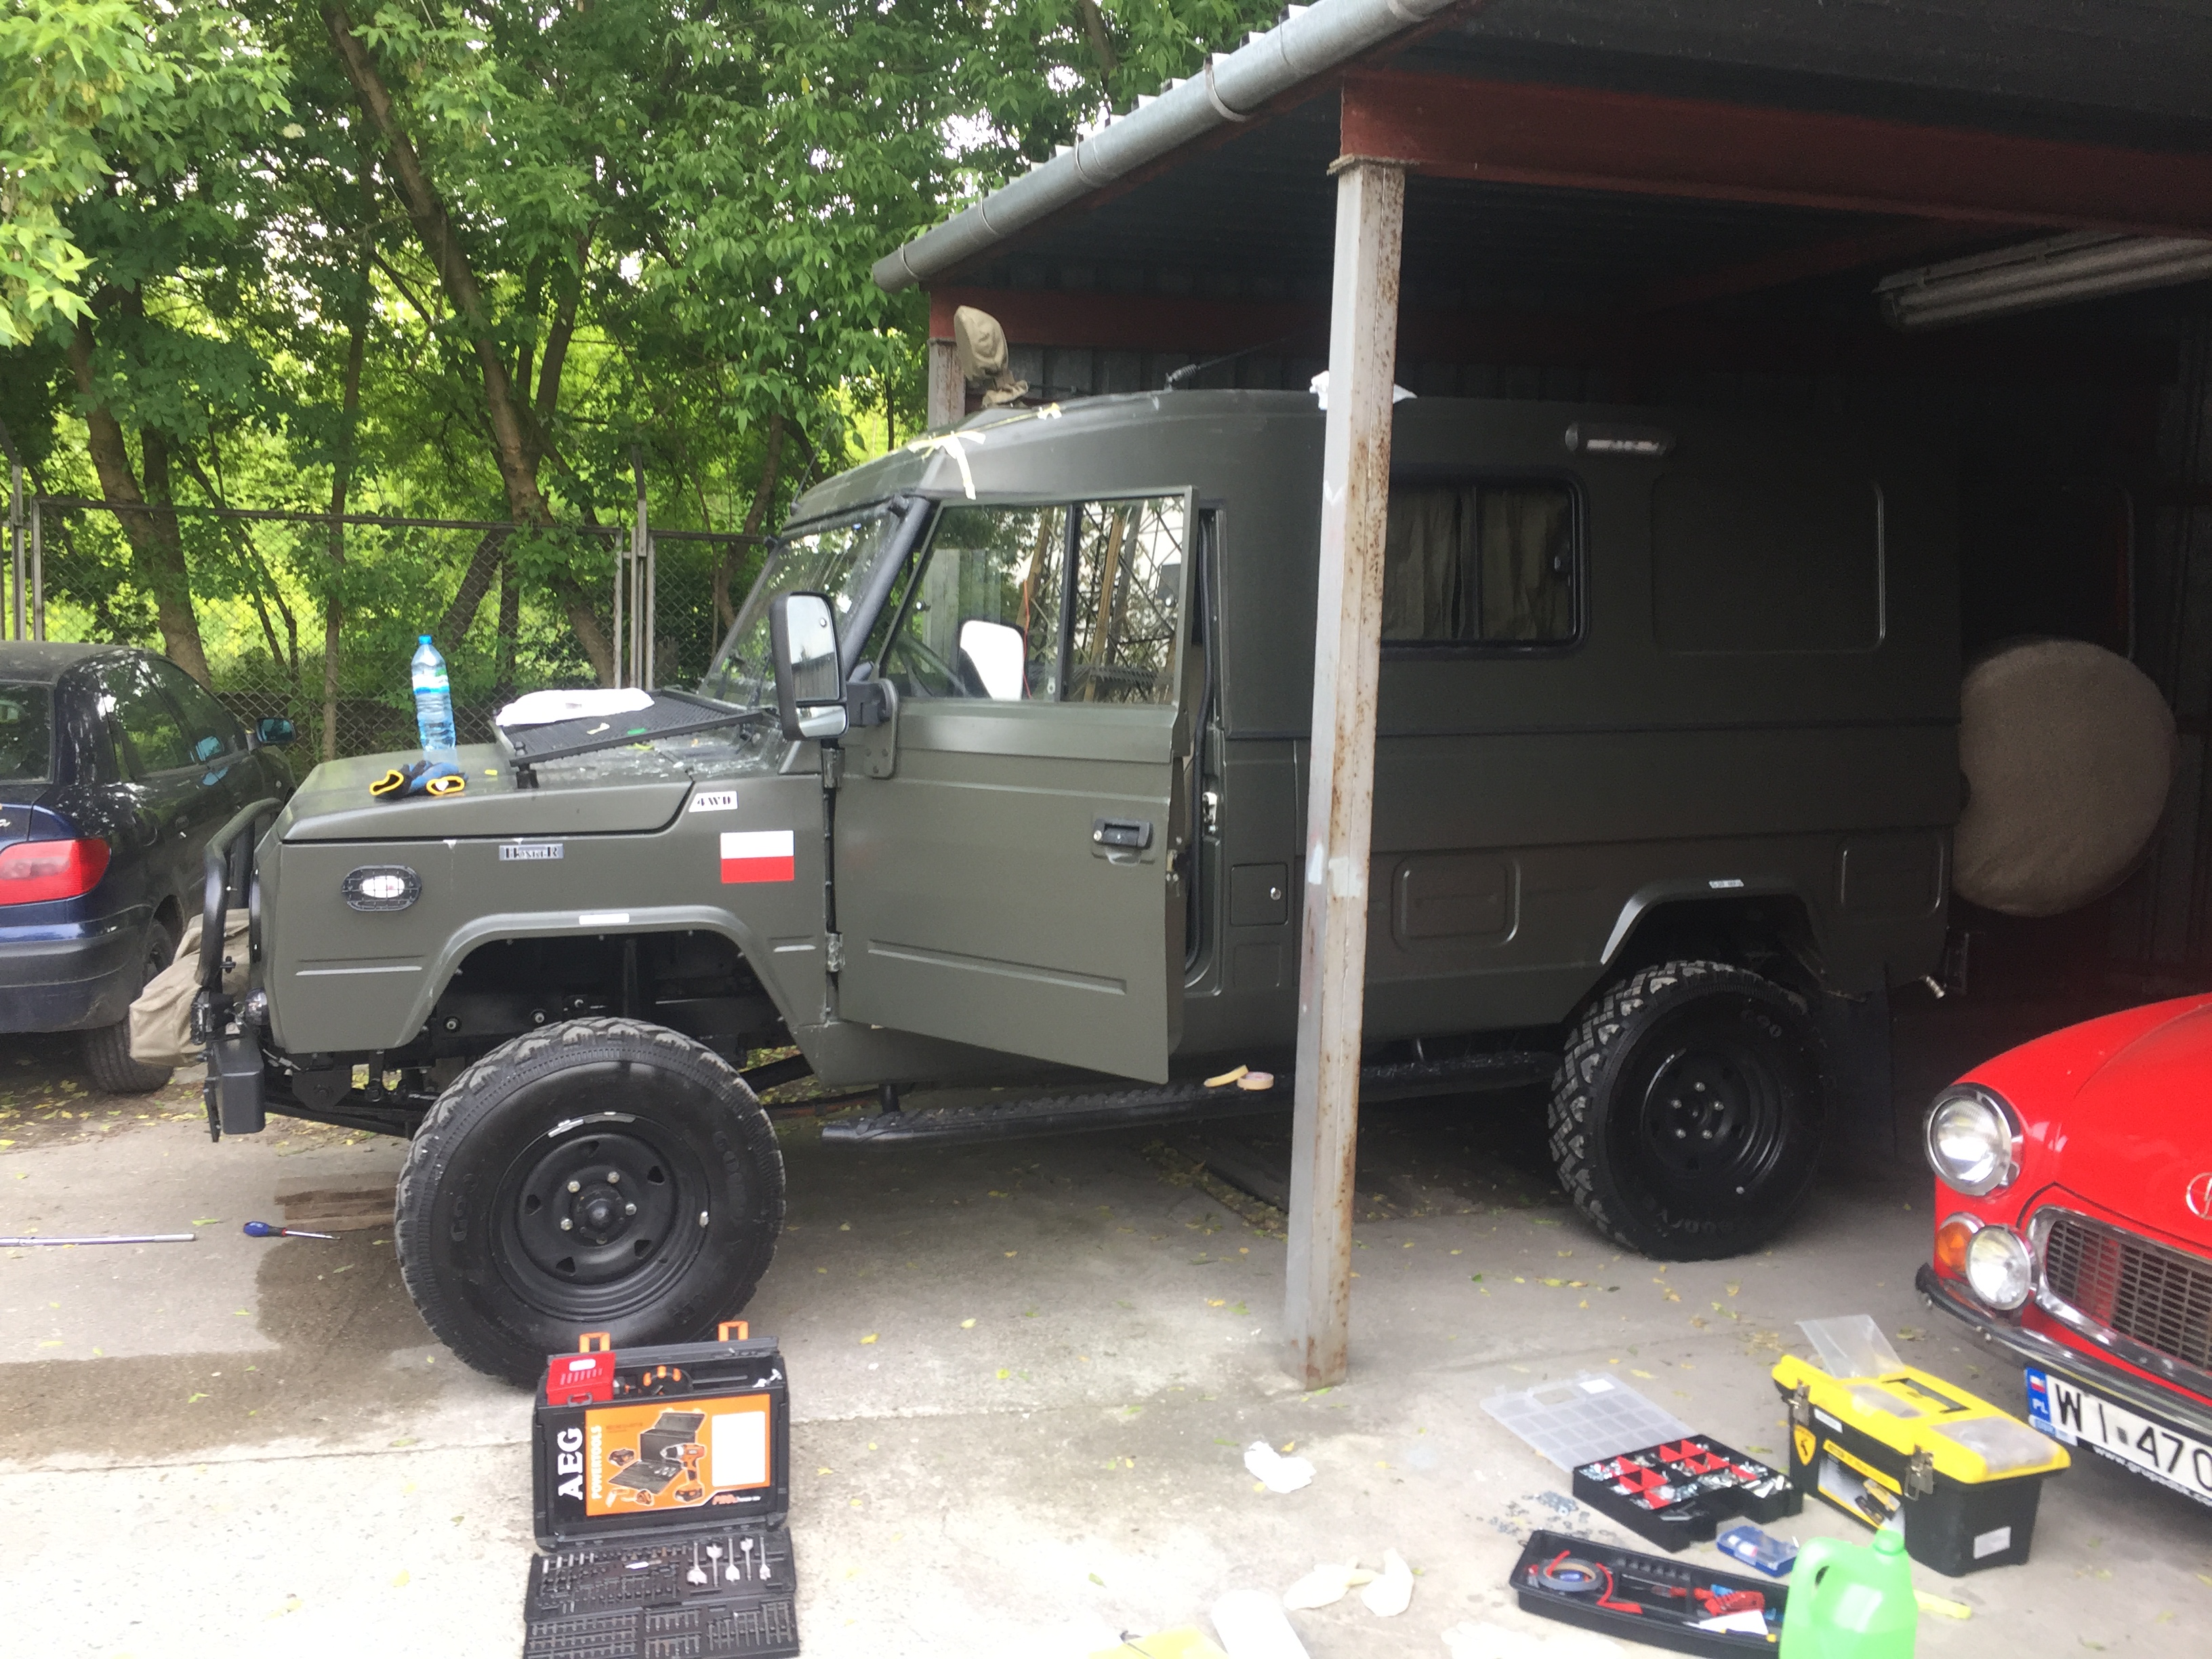
The completed base was powder coated and then traditionally painted with the same paint as the rest of the car.
The next step was to mount the base on the roof, which required cutting a rather large hole....
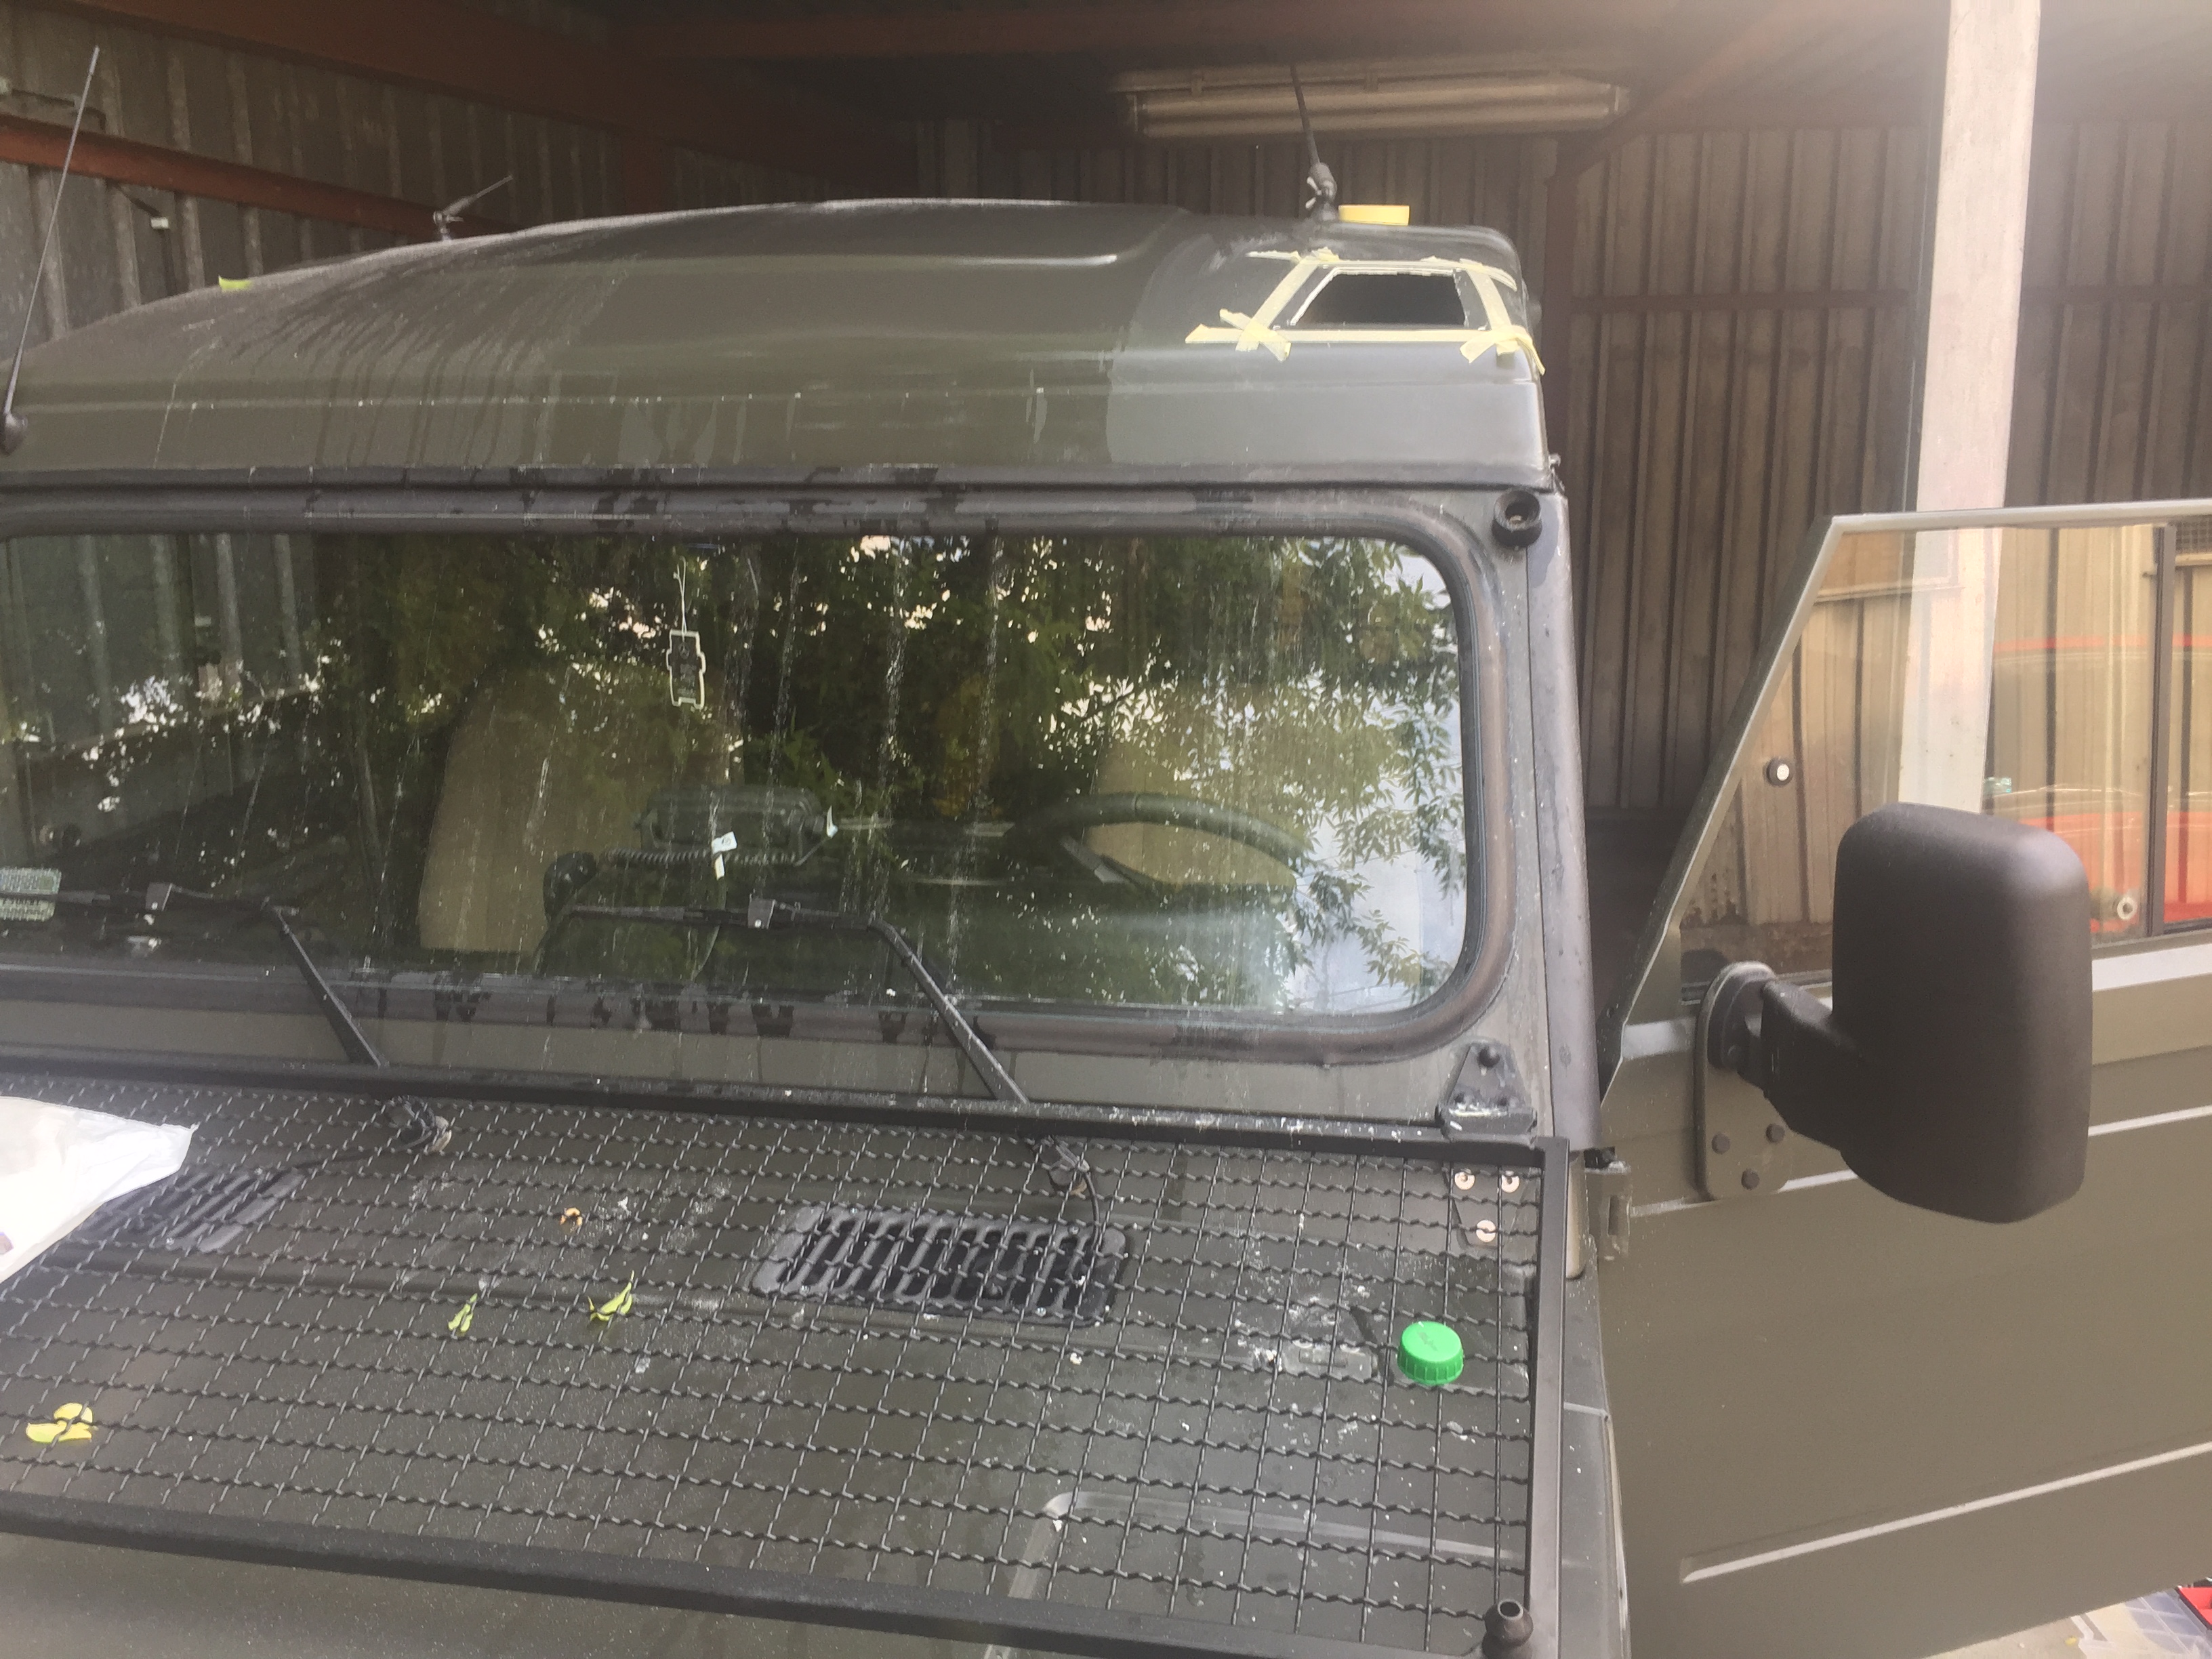
The base was fastened with four screws and a pressure frame, which is located on the bottom of the roof. In addition, for a good seal, the base was glued using glass glue.
The next step was to do the wiring to the lamp. To do this, I pulled + directly from the factory voltage cutoff heb and - from the body above the driver's door. Directly behind the heb where I connected the + was placed a fuse to protect the installation. In addition, not far from the lamp itself, there is a 2-pin hermetic connector to unplug the lamp from the installation.
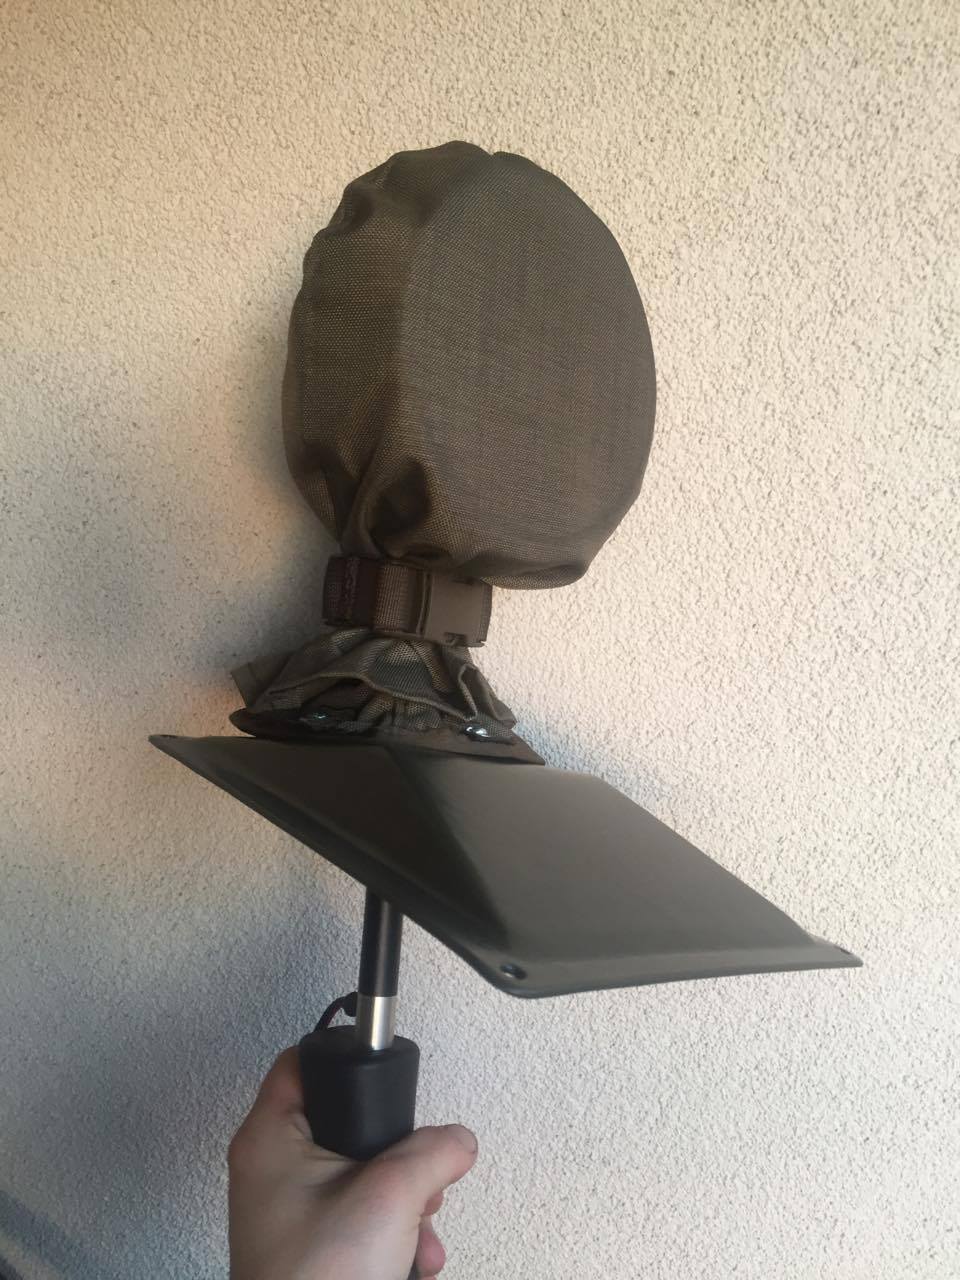
The final step was to make a protective cover for the lamp out of cordura(fastened with fastex buckles) and protective and aesthetic bellows to protect the lamp joint from the top and bottom.
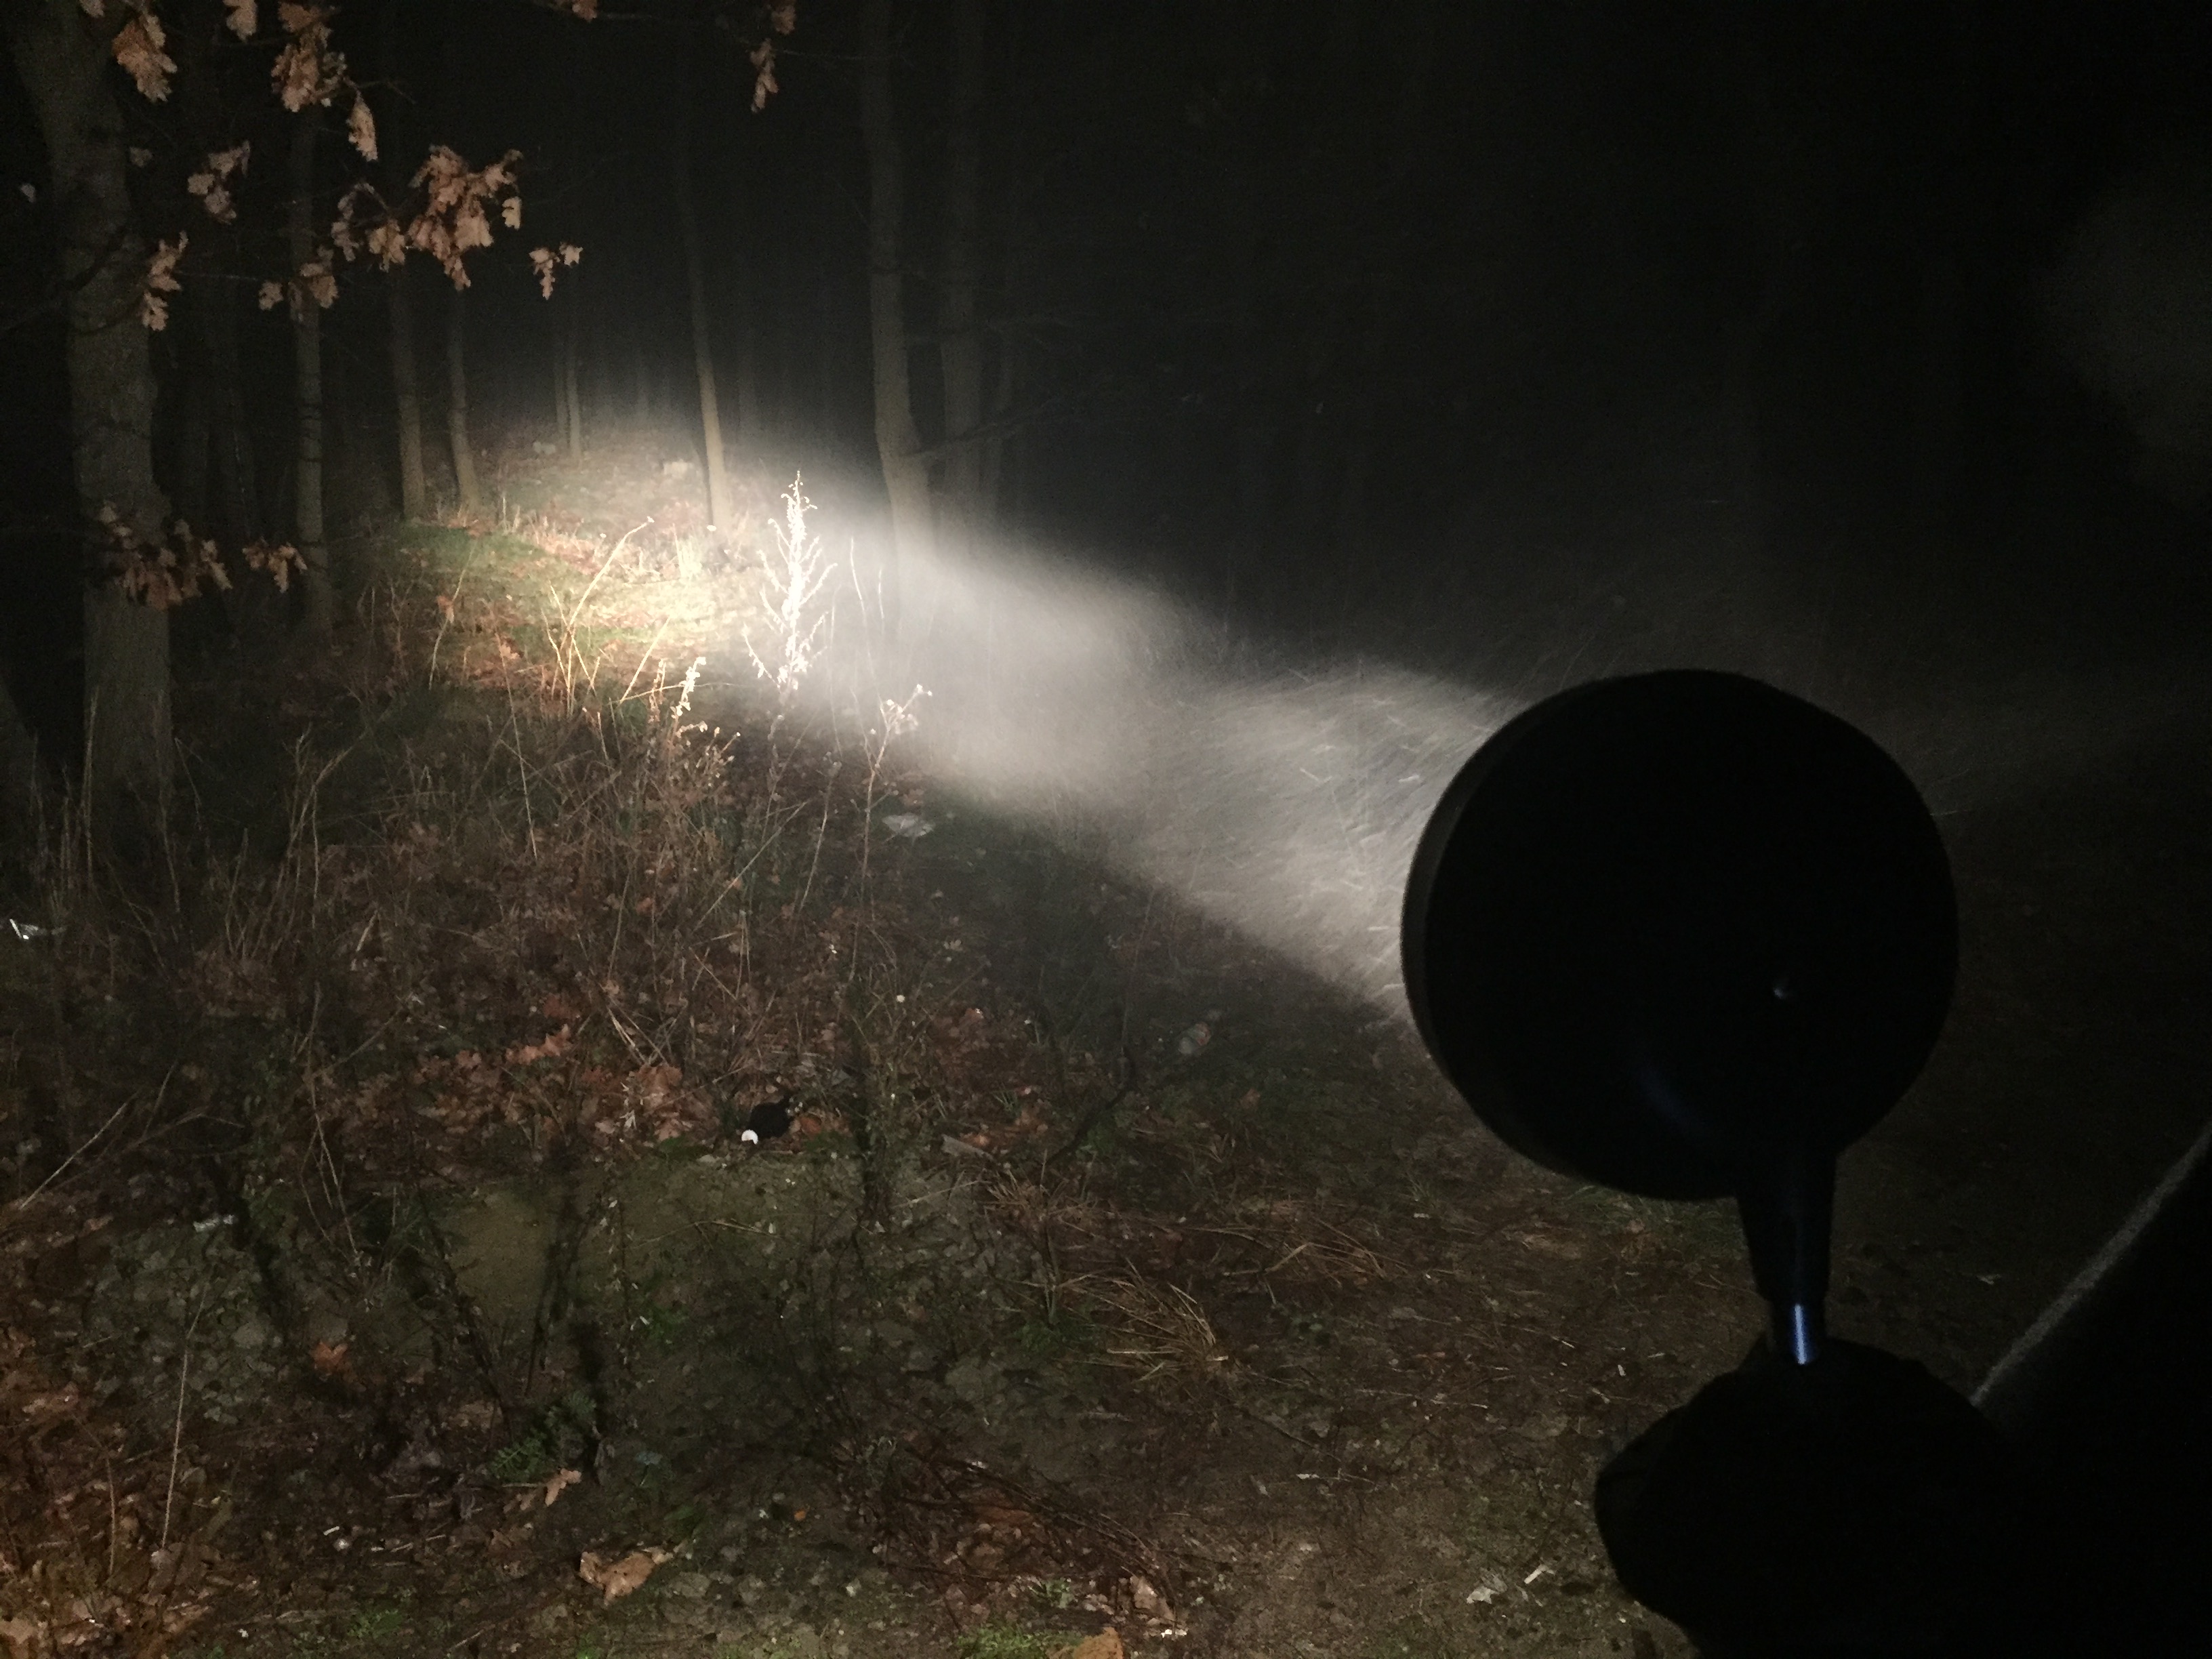
The car with the searchlight on looks like this(in person the lamp shines much better):


no comments on Mounting Hella Marine roof searchlight