
As part of the overhaul of my honker, I was forced to replace the original mirrors.
For honkera2000 fit all mirrors mounted in lublin. So we have quite a selection of available parts. There are regular mirrors, mirrors with an additional spherical field, with a turn signal in the mirror - all of them come with or without heating.
In my case, when buying new mirrors, I opted for a version with an additional spherical field (this makes them slightly larger than the basic, originally installed ones) and with heating.
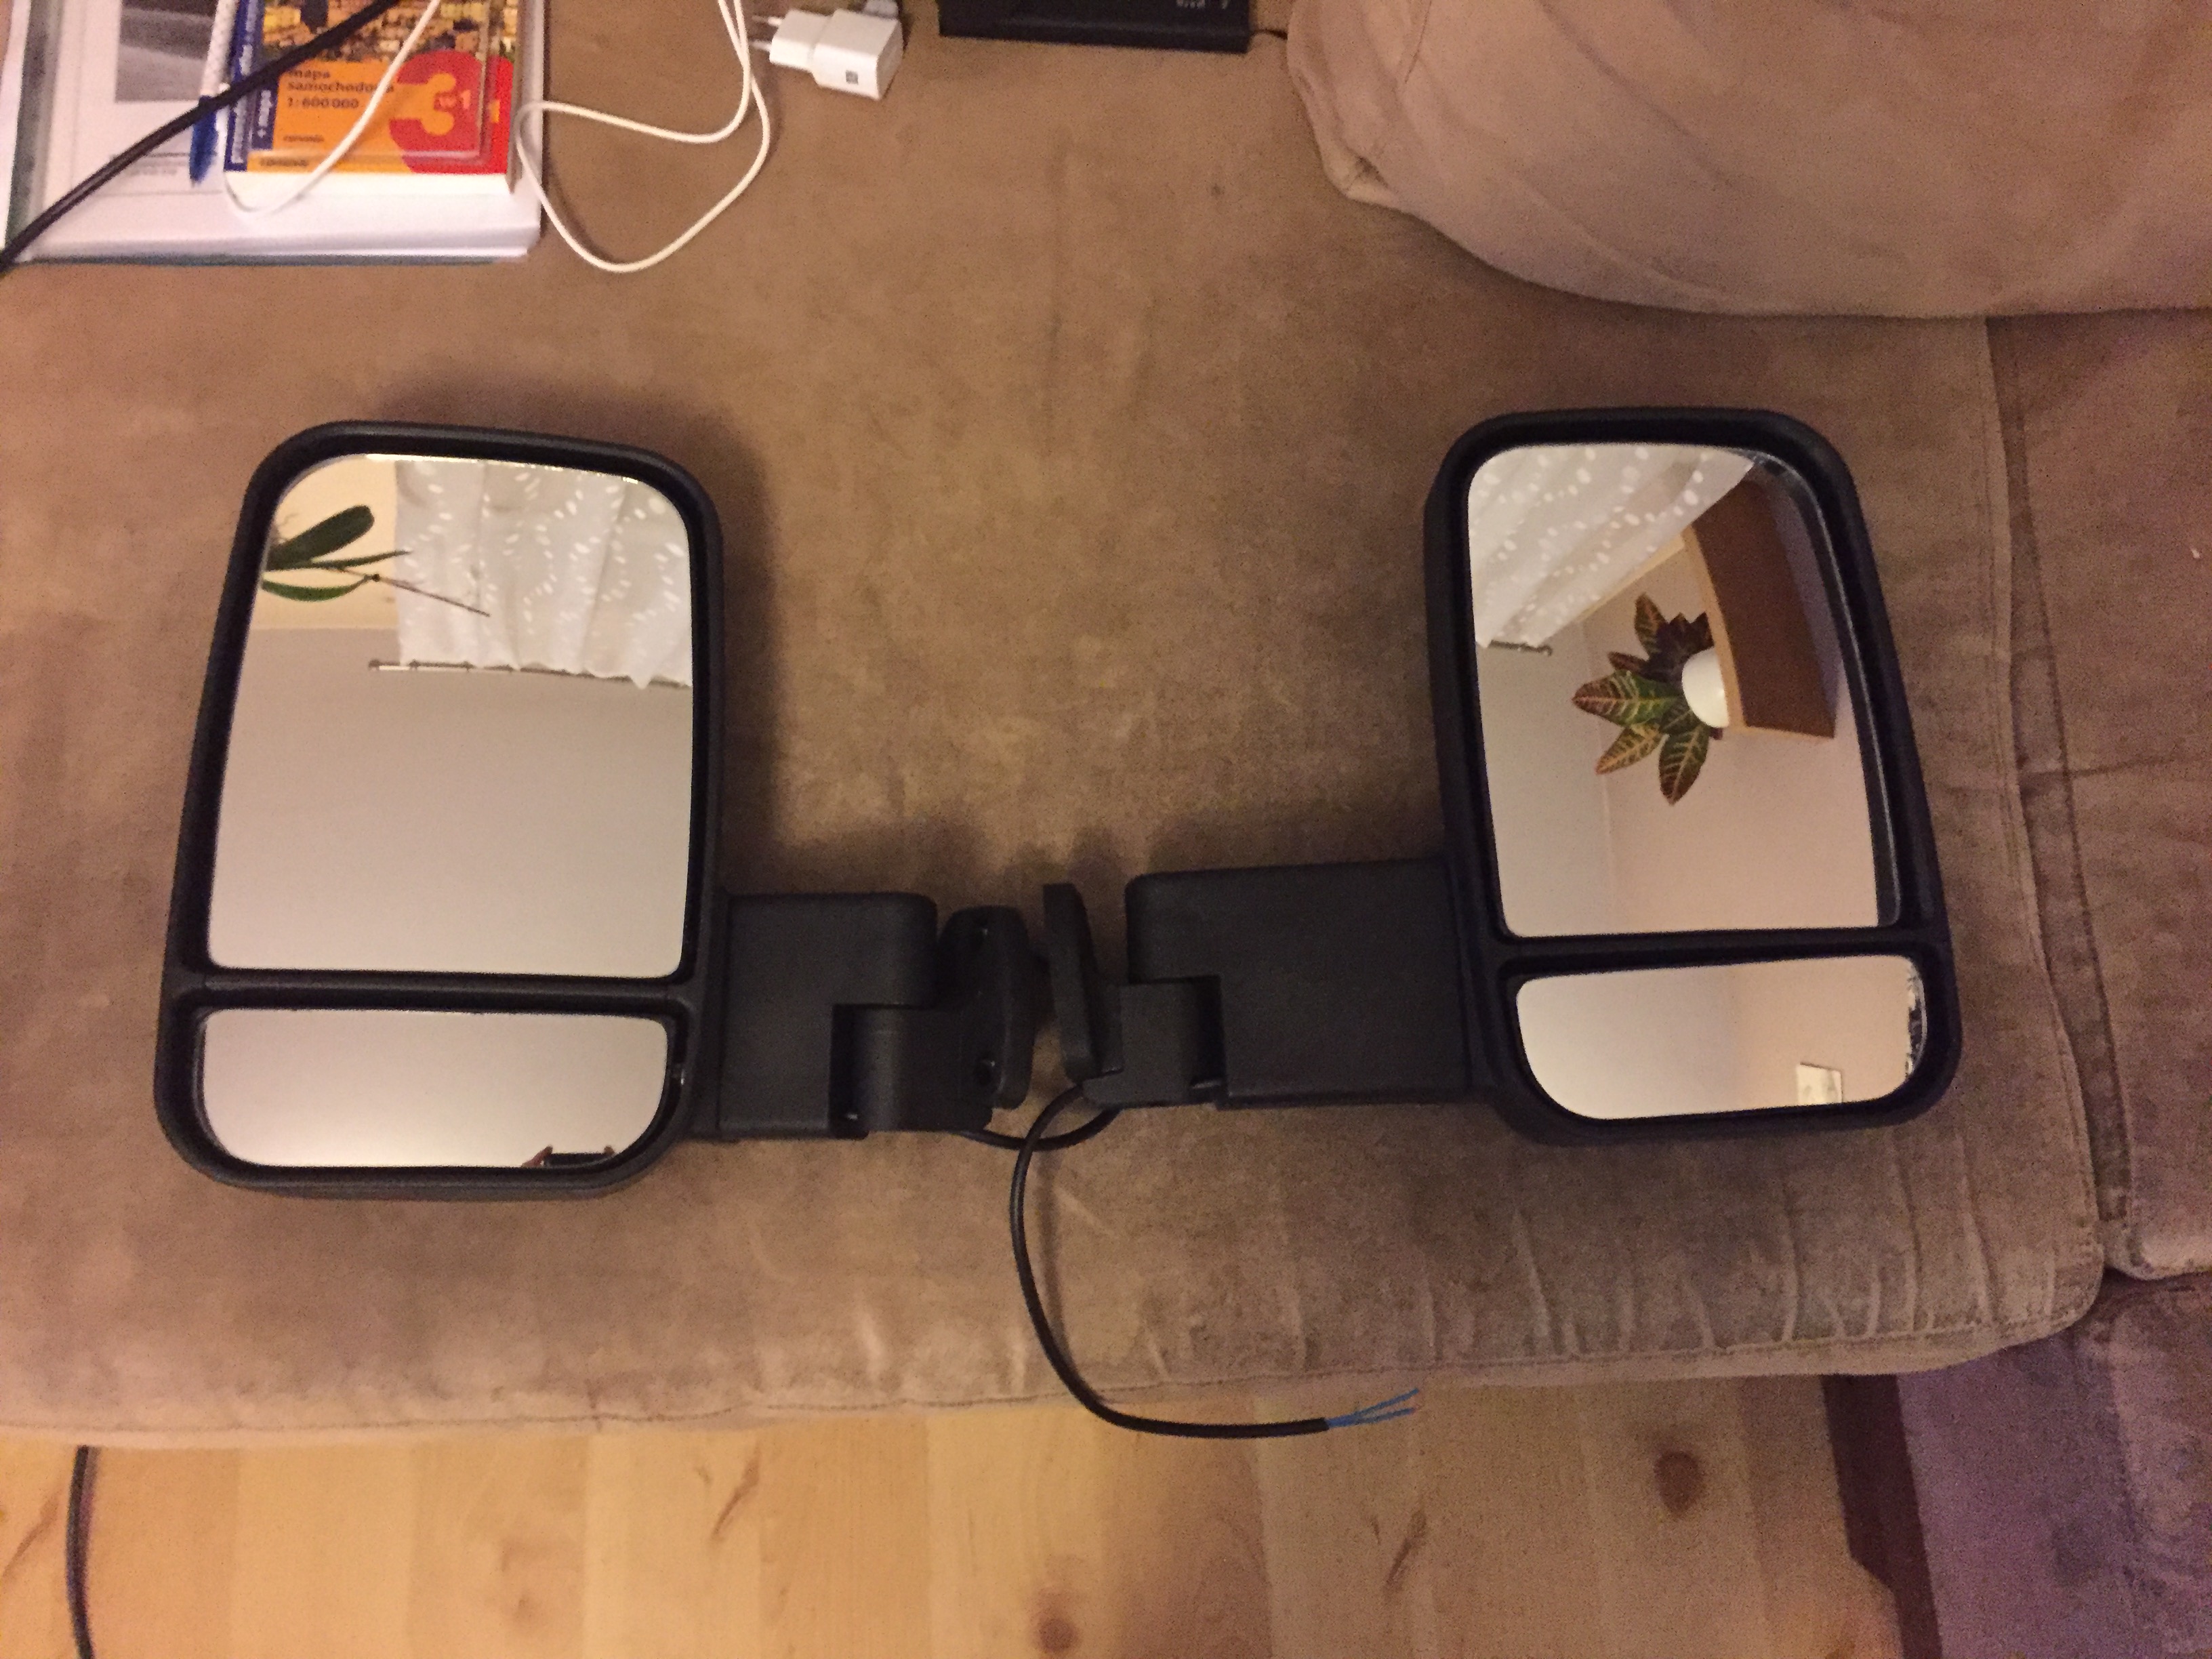
The electrical installation of heated mirrors is very simple, in order to make the mirrors heated you need to give to the wires + from the battery and ground. Of course, such a connection should be made through a relay, which will be controlled by a button on the dashboard. I personally advise you to purchase a so-called shorting relay, which, regardless of the time of application of the control current, will turn off the voltage on the mirrors after, say, 3-5 minutes. The use of such a relay will prevent accidental activation of heating and burning of the mats in the mirrors.
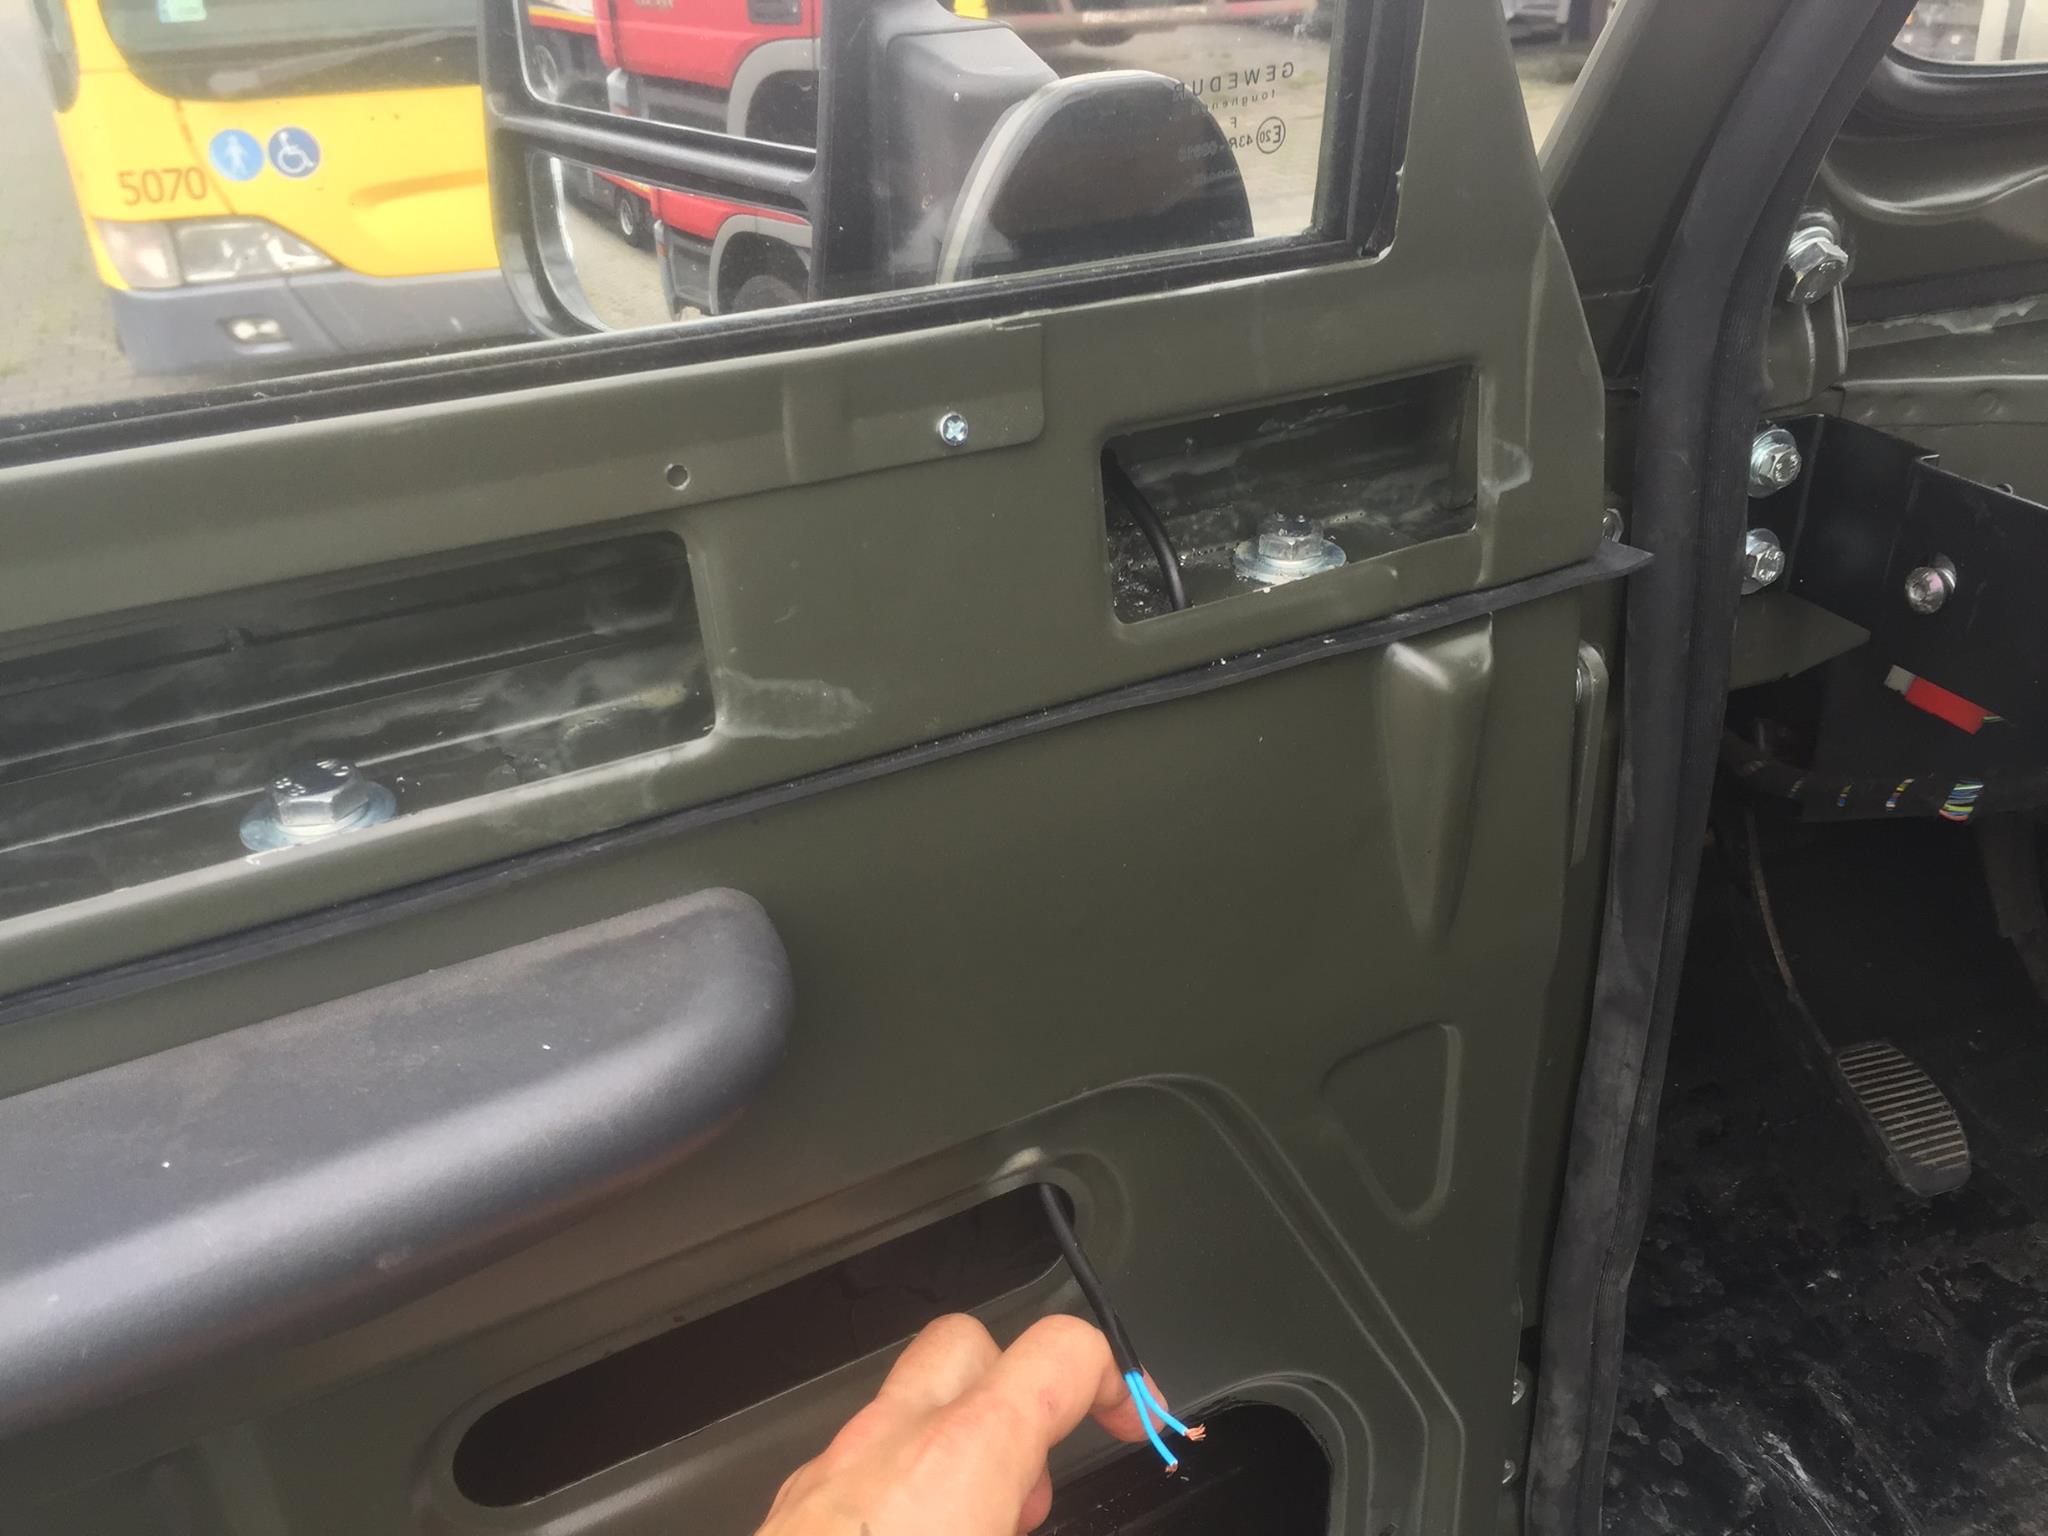
The main problems of making the installation are the lack of adaptation of the door to run the cable and the lack of a factory cable connection between the door and the rest of the body.
We can solve the first one easily with a drill.
Make an additional hole in the mirror bracket and a hole in the outer sheathing of the door extension (window frame), as well as holes to allow the cable to pass from the extension to the door itself.


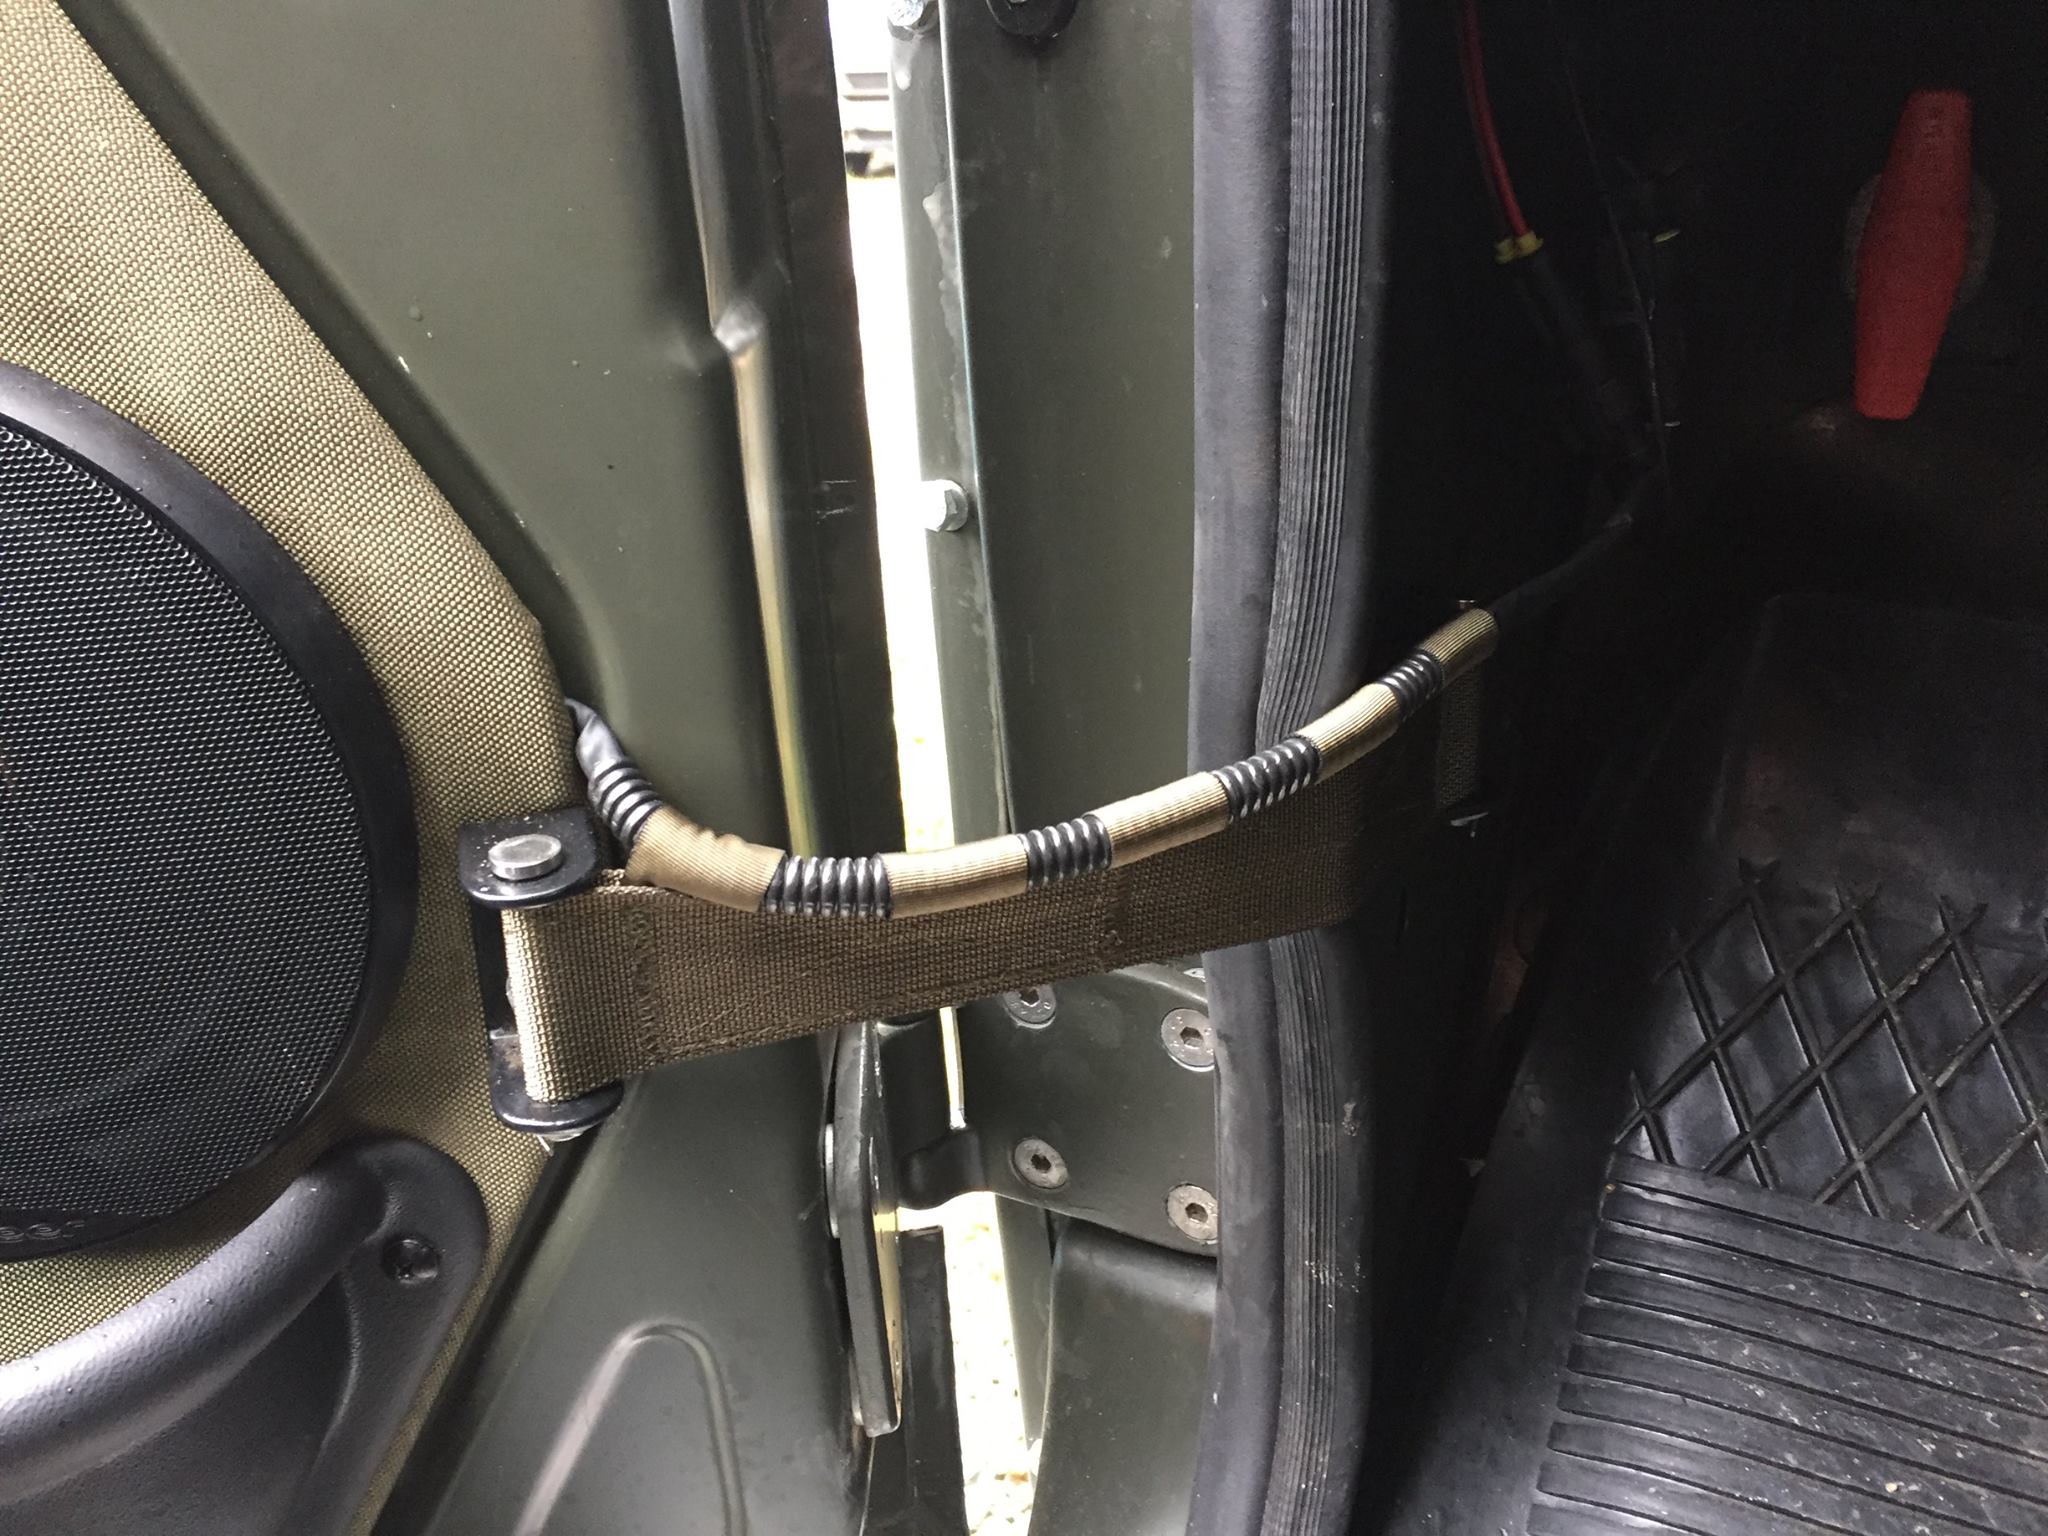
The next step will be to connect the mirrors to the installation made inside the vehicle. Here we encounter the aforementioned problem of the transition between the door and the body. In order for the installation to be durable, it is necessary to prevent excessive bending of the wires, which can cause them to break.
We propose to make new door opening stops, which will be adapted to run electrical wiring in them.
In the case of the described car, the control will be done from the installed additional switch panel - however, anyone can use any button installed anywhere. It is also possible to connect the mirrors under the rear window heating system.
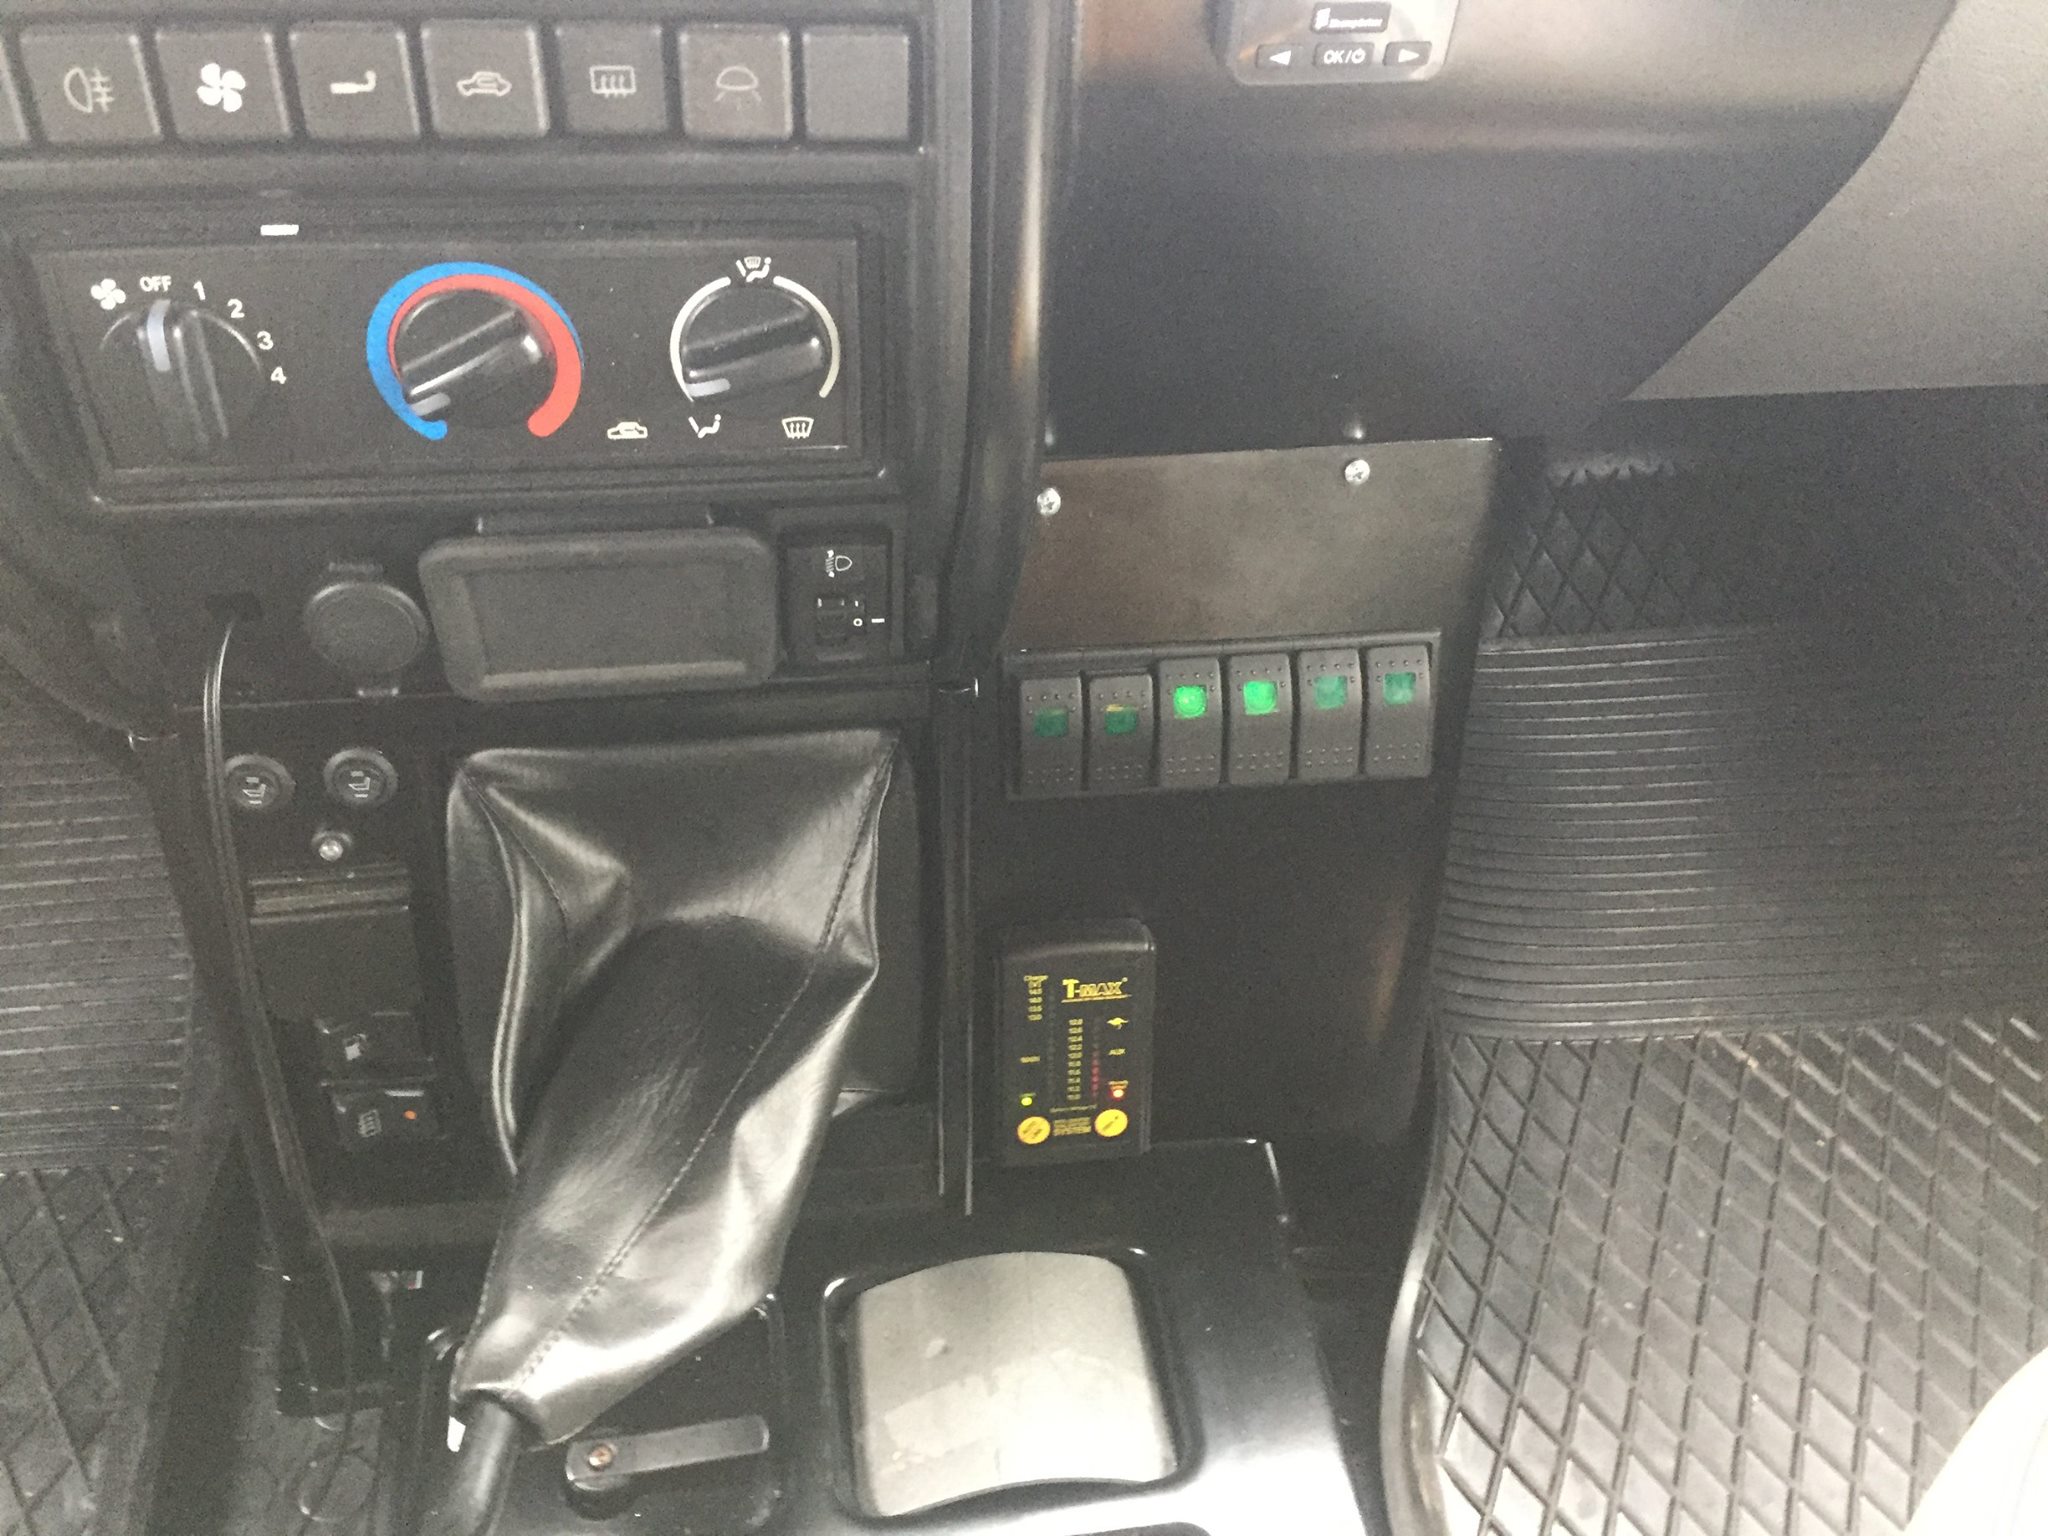
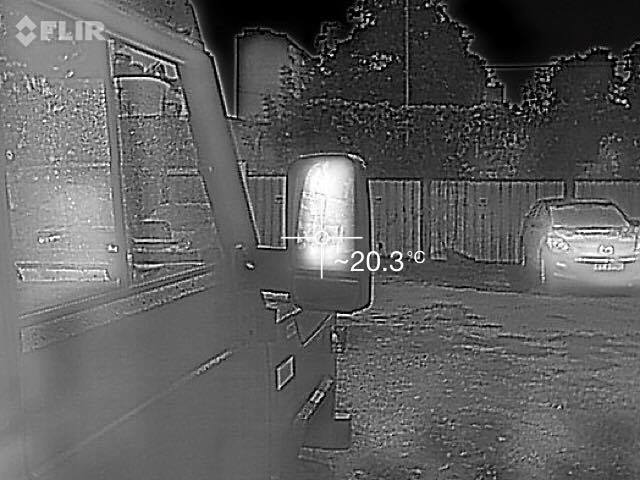
In the end, we are left to enjoy the working heated mirrors 🙂
no comments on Heated mirrors - honker 2000